You are using an out of date browser. It may not display this or other websites correctly.
You should upgrade or use an alternative browser.
You should upgrade or use an alternative browser.
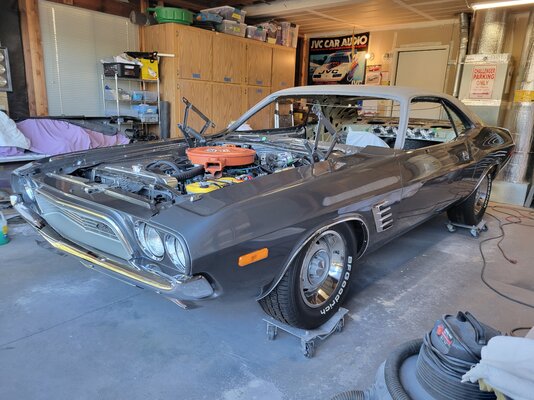
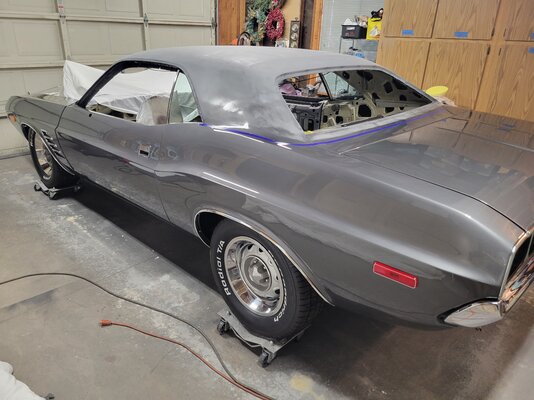
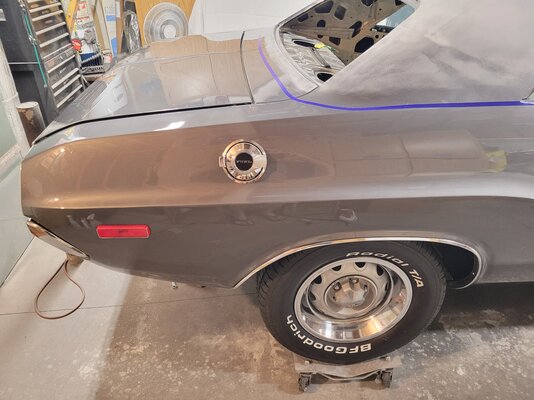
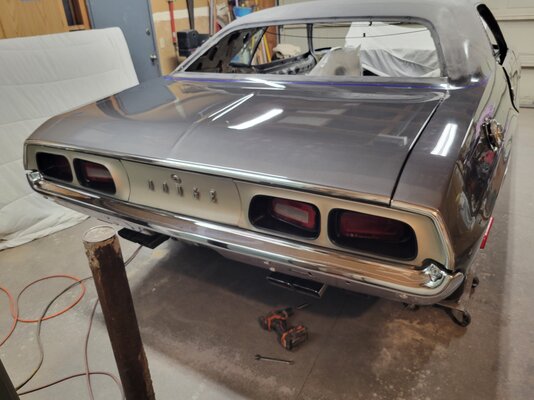
Buffed and polished, ready for vinyl top and headliner.
- Thread starter Juan Veldez
- Start date
Challenger RTA
Well-Known Member
I you do the headliner first, Remember the vinyl top clip you have to access. GOOD LUCK INSTALLING THE TOP. Anything goes wrong,just stop and take the time to fix the 3" strip.

Last edited:
Challenger RTA
Well-Known Member
The work done looks very good. A Fine job!
Juan Veldez
Well-Known Member
Thanks. My buddy shot this in my residential garage this winter (I have cool neighbors). Spent about $1,400 on materials and $4k on labor. I did a bunch of the sanding/labor myself. It is not perfect, but for what will be a very common driver, it's fine. Color is original.The work done looks very good. A Fine job!
Juan Veldez
Well-Known Member
I tried to zoom in and see that clip close up, but it gets too blurry. How does that clip mounted on the inside have anything to do with the vinyl top? Sorry, first time doing this.I you do the headliner first, Remember the vinyl top clip you have to access. GOOD LUCK INSTALLING THE TOP. Anything goes wrong,just stop and take the time to fix the 3" strip.
View attachment 96629
Stockcar axeman
Well-Known Member
Great job! Keep up the good work. Can't wait to see it finished!
Challenger RTA
Well-Known Member
Inside the yellow mark,there is a hole in which to place the nut on the clip.that is placed on the outside.I tried to zoom in and see that clip close up, but it gets too blurry. How does that clip mounted on the inside have anything to do with the vinyl top? Sorry, first time doing this.
Juan Veldez
Well-Known Member
Juan Veldez
Well-Known Member
Inside the yellow mark,there is a hole in which to place the nut on the clip.that is placed on the outside.
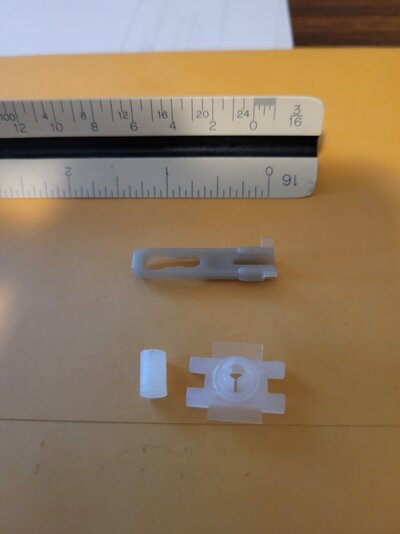
I purchased new vinyl top trim clips. I have eight each of these clips, grey ones and white ones. I assume based on the hole layout, eight of one type goes on the filler panel, and the other eight have four on each side of the quarter panel. Anyone know which goes where?
Challenger RTA
Well-Known Member
This one is what is behind the 1/4 window and one's can be accessed from the trunk. the grey clips are for the studs. depends on your layout if you have studs or holes.View attachment 96667
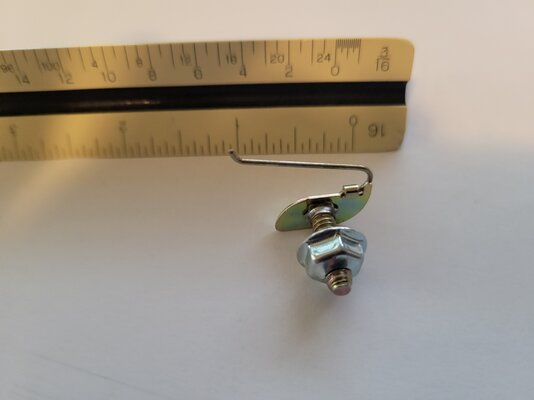
I think this is the trim clip you speak of? I looked through the gap inside and noticed some filler over a hole. Guess I need to do a little drilling!?
If you need to drill holes use your trim for hole layout.
Last edited:
Juan Veldez
Well-Known Member
Your photo is hard to decipher what that front clip looks like. I will assume (dangerous) that the clip I have with the nut goes there. My filler panel is new and came without holes/studs. So I drilled holes to match those holes on my quarter panels. I actually only have 4 of those white clips so the numbers don't add up. What is strange is that my clips do not seem to have enough width to capture the trim and snap it tight to the body. Mine is a 73 and I purchased 71-74 vinyl trim clips, not the 70 as it is totally different so that is not my issue.This one is what is behind the 1/4 window and one's can be accessed from the trunk. the grey clips are for the studs. depends on your layout if you have studs or holes.
If you need to drill holes use your trim for hole layout.
View attachment 96692
I also bought the screw in studs for trim clips around the window for that trim. But the holes that the rusted studs came out of are too large for the threads of the screws. I again assume I need to drill smaller holes next to those so I can attached the window trim clips. Dang this is frustrating. Thanks for you input and patience. Anyone else dealt with this issue?
Challenger RTA
Well-Known Member
YES! "The clip I have with the nut goes there." yes.Mine needs replaced and is in filler.

Challenger RTA
Well-Known Member
Myself if I was in your situation.I would use all clips with nuts. Some were made with a rubber washer and a sealed nut.Not sure from what.
Similar threads
- Locked
- Replies
- 1
- Views
- 1K
- Replies
- 66
- Views
- 6K
- Replies
- 18
- Views
- 2K
- Replies
- 25
- Views
- 2K
- Locked
- Replies
- 2
- Views
- 1K


