
You are using an out of date browser. It may not display this or other websites correctly.
You should upgrade or use an alternative browser.
You should upgrade or use an alternative browser.
74 Cuda Restroration - From Below the Bondo to Daily Driver
- Thread starter Zell
- Start date

EFI Fuel tank arrived today. I bought the CR8EFI (Fuel Tank and Pump Assembly) from Rockauto.com. The fuel pump wasn't included and I'm waiting to here back from RockAuto support if there was an issue or if it's not included. I was waiting for the tank so I could test-align it with the floor pan before welding the strap mounts to the floor.
Also, got most of the interior taken out today so I could start sanding the interior metal to get it ready for primer. FYI - when I took out all the seats the rear end was so light that it could be lifter up with a finger (the engine is still in the car). Since I had the frame rails braced up, I anchored the brace to floor to keep everything stable and level.
EFI Fuel Tank, the RockAuto catalogue had it listed for a 1972 Cuda.
Interior after it was stripped.

Checking the level of a bar running between the spring mounts after anchoring frame rail brace to the floor.

Also, got most of the interior taken out today so I could start sanding the interior metal to get it ready for primer. FYI - when I took out all the seats the rear end was so light that it could be lifter up with a finger (the engine is still in the car). Since I had the frame rails braced up, I anchored the brace to floor to keep everything stable and level.
EFI Fuel Tank, the RockAuto catalogue had it listed for a 1972 Cuda.
Interior after it was stripped.
Checking the level of a bar running between the spring mounts after anchoring frame rail brace to the floor.
R4Sedan
Well-Known Member
Nice 'Cuda. Nice work.
Rapidfire
Well-Known Member
Thanks for the updates! Looking good! ")
Started stripping the paint off the car in the rear before I weld the trunk. Taking it down to metal to get a couple good coats of epoxy primer on the body. Also, I got word from RockAuto that the CR8EFI kit didn't include the fuel pump. So I sent it back and I ordered the Tanks, Inc. EFI kit that arrived today.
Starting to strip the rear tail panel.

Tanks Inc. EFI kit.

Starting to strip the rear tail panel.
Tanks Inc. EFI kit.
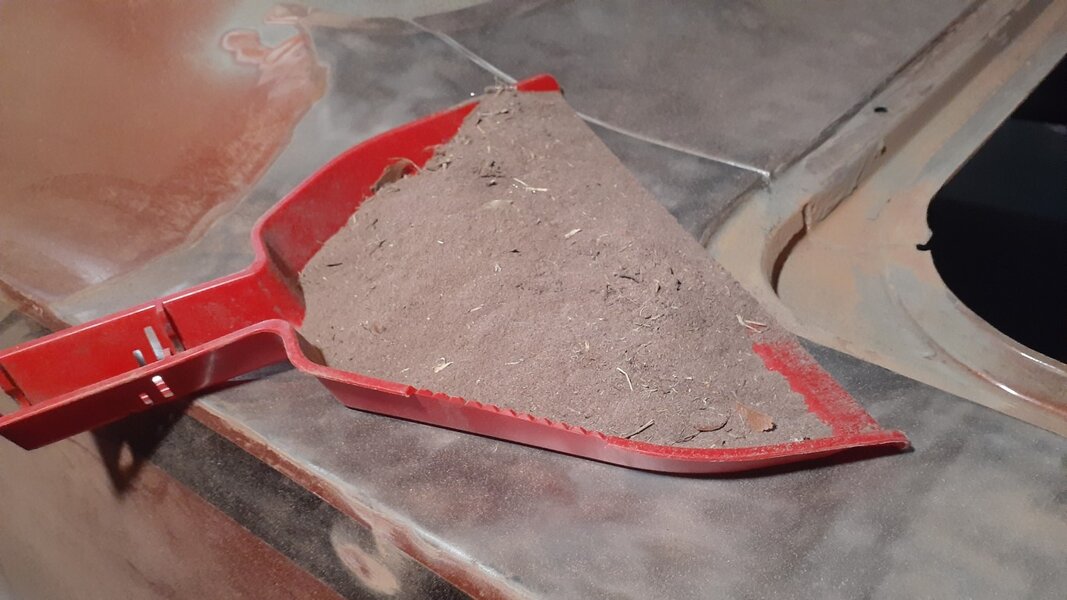
Starting sanding the rear today. There were 5 layers of paint and two complete paint jobs removed - paint dust went everywhere.

Rear panel and top of the quarters taken down to metal. The factory metal is still in great shape.

There were only a few small spots by the passenger side tail lights with some rust holes.

Rear panel and top of the quarters taken down to metal. The factory metal is still in great shape.
There were only a few small spots by the passenger side tail lights with some rust holes.
Attachments
heminut
Well-Known Member
Starting sanding the rear today. There were 5 layers of paint and two complete paint jobs removed - paint dust went everywhere.
I feel your pain! My Barracuda was pretty much the same. It's in the shop as I post this, getting sanded down to the metal. My wife told me to take it to the shop I was checking out and just have them do it. I'm 66 years old and she said I was to old to be doing that kind of work anymore. I wasn't really looking forward to doing it myself and agreed with her but I think what she really wanted to do was to keep me working on her honey-do's!

@heminut maybe it was a smart idea to take it to the shop. This isn't my first time around the block sanding a car but it's been a while and I forgot how paint dust goes everywhere... the walls, the stuff on the shelves, the clothes hanging in the corner of the garage and my favorite - the ceiling - I'm still not sure how I'm going to clean that up
heminut
Well-Known Member
Pressure washer and start from the ceiling and work your way to the floor?@heminut maybe it was a smart idea to take it to the shop. This isn't my first time around the block sanding a car but it's been a while and I forgot how paint dust goes everywhere... the walls, the stuff on the shelves, the clothes hanging in the corner of the garage and my favorite - the ceiling - I'm still not sure how I'm going to clean that up

I just finished sanding and finishing the oak floors in 3 bedrooms, the livingroom and the hallway and after I finished up each room, we had dust everywhere in the house. My wife is totally over having any kind of sanding dust around her house!
Got the interior of the trunk sanded today. I realized while I was in there it would be a pain to sand/spray everything with the trunk in so I tried out the single stage Vitamin C that I plan to paint the car once I had the epoxy primer sprayed.
Inner trunk and rear end sanded to metal.

After the epoxy primer.

Spraying the inner panels Vitamin C. This color looks amazing and it looks different in direct sunlight from the small metallic flake.

Inner trunk and rear end sanded to metal.
After the epoxy primer.
Spraying the inner panels Vitamin C. This color looks amazing and it looks different in direct sunlight from the small metallic flake.
Attachments

Great update today - After playing with several different test pieces, 4mm (about 1.5 inch) seems to be the right height for rear center lip on the tail light panel. The floor pan now sits flat on the frame rails.
Rear center lip on the tail panel.

Floor pan on the frame rail without any clamps holding anything in place. Side flanges are up next then the floor pan.

Rear center lip on the tail panel.
Floor pan on the frame rail without any clamps holding anything in place. Side flanges are up next then the floor pan.
Some quick updates - the flange for the bottom of the tail light panel has been fabricated and is in and the floor pan mockups have started.
Tacking in the side pieces on both sides.


Mocking up the floor pan using the holds in the old pan as a reference for the spot welds and the tank mount straps.


Tacking in the side pieces on both sides.
Mocking up the floor pan using the holds in the old pan as a reference for the spot welds and the tank mount straps.
heminut
Well-Known Member
Nice work!
Thanks @heminut  .
.
An update from today - the holes of the floor pan are drilled and ready to go along with the mounts for the tank.
Floor pan drilled (mostly).

I drilled 5/16" holes - the 5/16" Milwaukee drill bit and cutting grease worked well, one drill bit did everything. Highly recommend them. I've tried other drill bits from HFT and others and haven't had this kind of luck. Also I picked up a 5/16" pneumatic hole punch which made the flanges and tank mounts really fast.

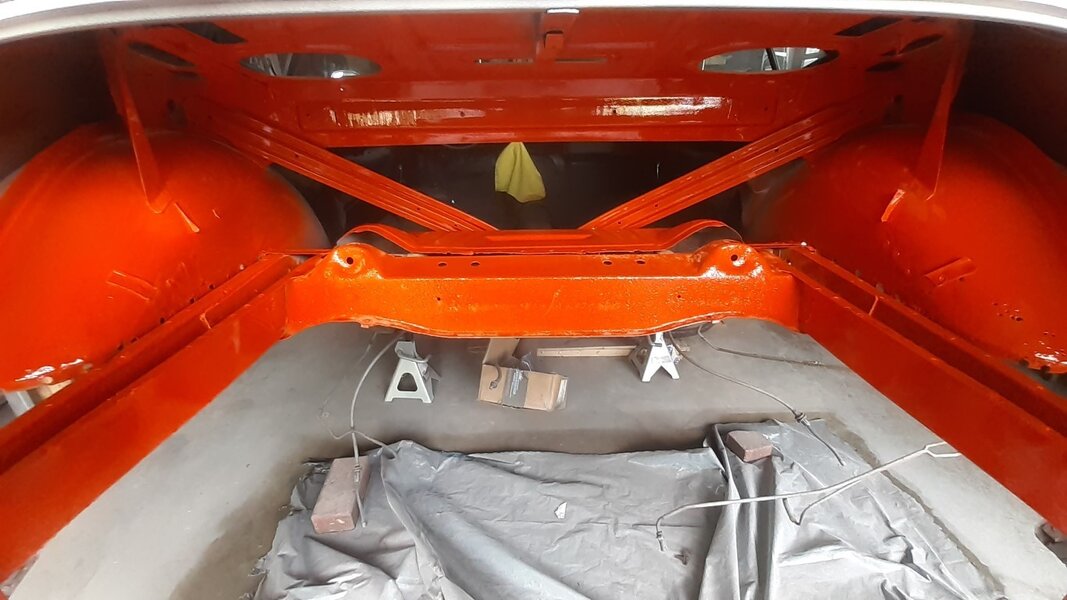
Great news - the holes where the floor pan welds to the frame rails lined up nicely. Flange for the frame rails is orange (tested the Vitamin C paint).

.An update from today - the holes of the floor pan are drilled and ready to go along with the mounts for the tank.
Floor pan drilled (mostly).
I drilled 5/16" holes - the 5/16" Milwaukee drill bit and cutting grease worked well, one drill bit did everything. Highly recommend them. I've tried other drill bits from HFT and others and haven't had this kind of luck. Also I picked up a 5/16" pneumatic hole punch which made the flanges and tank mounts really fast.
Great news - the holes where the floor pan welds to the frame rails lined up nicely. Flange for the frame rails is orange (tested the Vitamin C paint).
Rapidfire
Well-Known Member
Making great progress! Nice to see a project coming together! Keep us updated thanks!
Similar threads
- Replies
- 5
- Views
- 529


