

Heywodja
Well-Known Member
- Joined
- Apr 26, 2015
- Messages
- 100
- Reaction score
- 16
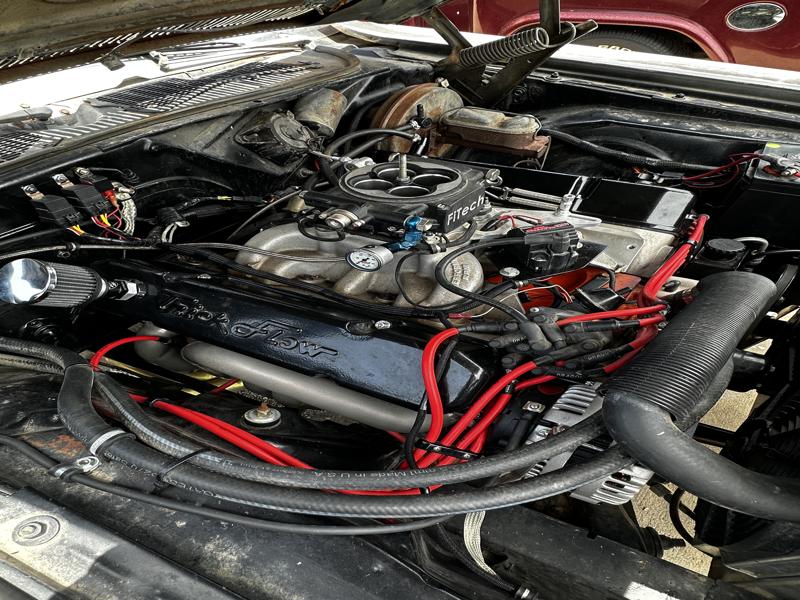
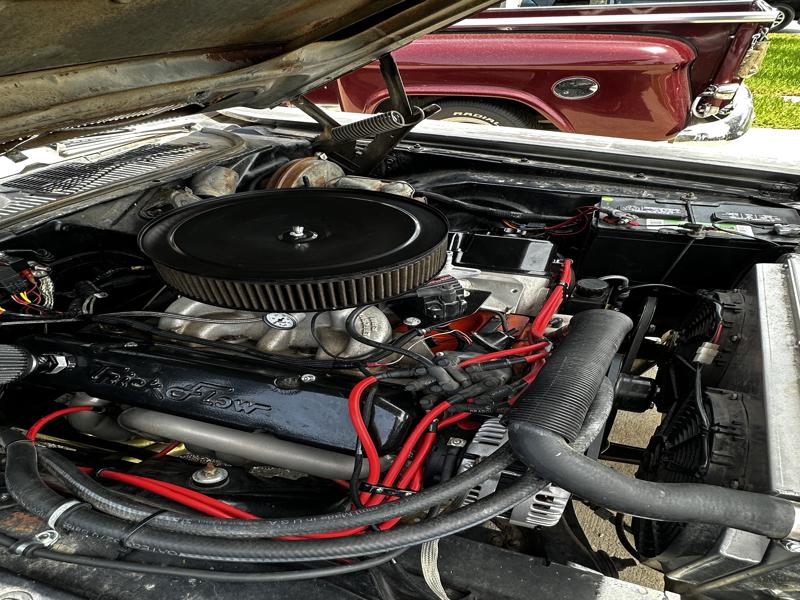
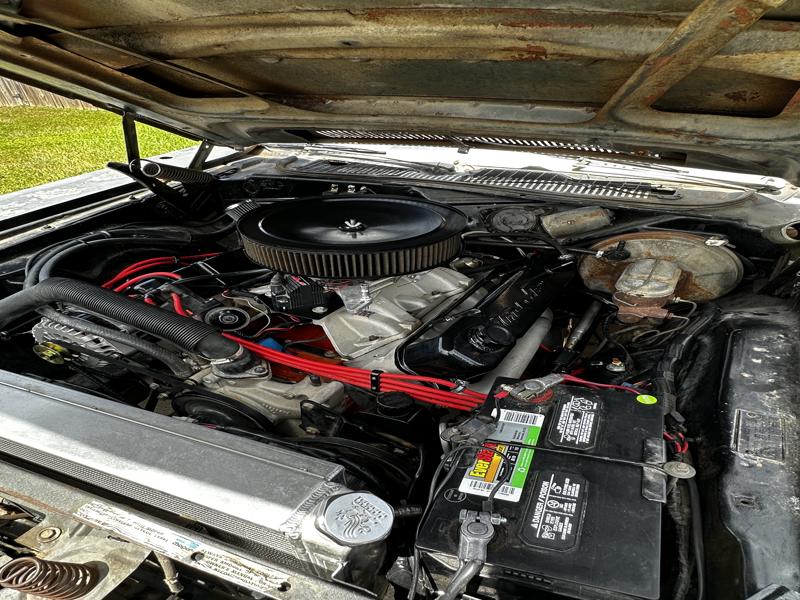
A few years ago I had swapped in a 440, and was using the regular mopar alternator, added the Fitech throttle body EFI, dual electric fans, electric fuel pump, electronic ignition.
Recently I have been having some issues with my 73 running all of the electronic components at low RPM, and really dim lights so I took my stock alternator to a local shop and had them make sure it was working properly, the went through it and rebuilt it and when they finished it was putting out a steady 70 amps starting around 1400 alternator rpm @ 13.5 volts. I am considering one of those electric compressor AC units and I knew the stock wiring would not cut it.
I called and spoke with Powermaster at length about their 220 amp alternator, 8-48539 and they assured me that the unit would work fine. The alternator is actually a GM AD244 which is supposed to put out a higher amperage at idle.
I pulled the trigger at Summit and had them send me one, it is a 1 wire alternator so that meant some electrical work was needed. I reached out to @crackedback over on the A Bodies forum, he set me up with the one wire alternator wiring setup which included a larger wire size and fusible link, an ammeter bypass adapter as well as a headlight relay setup as well, he included instructions for the electrically challenged like me.
First off, I am no sparky, but I can do simple stuff that usually turns out looking like crapola.
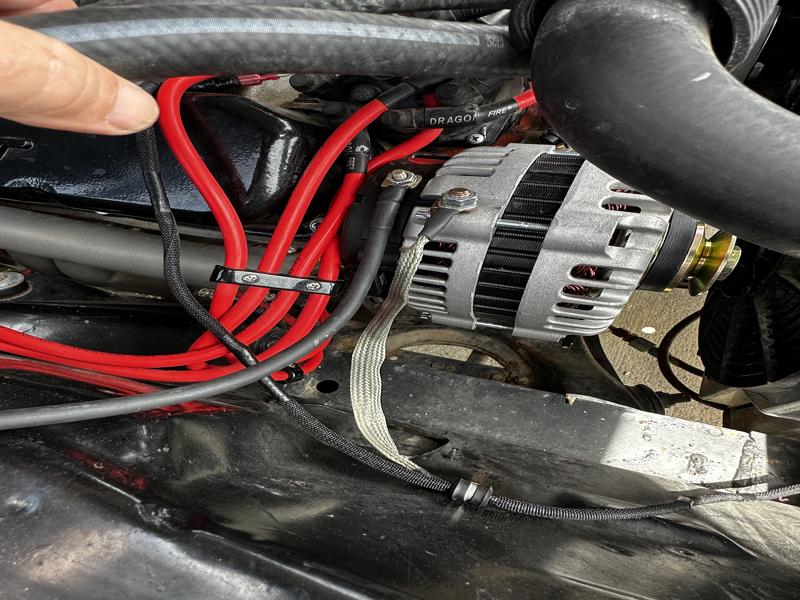
Alternator install went pretty smooth, had to drill one hole on my alternator bracket, and get a 5/16th aluminum spacer off the jungle website for the alternator spacing at the head where the large pivot bolt goes, belt lined up perfectly. So the wiring fun started, I went thorough all the engine and body grounds, opened up the harness and removed the external regulator circuits and un pinned the two wires that passed through to the alternator and added the firewall bulkhead "Y" adapter crackedback had made for me. I made a few calls to crackedback, and he walked me through everything patiently, I spent more time with the "as long as I am in here stuff" than just doing the necessary stuff.
Its basically a weekend project, minimal amount of hand tools and a drill. I ran by the alternator shop, @ 925 engine rpm it's kickin 120 amps @ 14.6V at the alternator and battery.
No more slow fan speeds, dim lights or weird noises from the fuel pump either. No smoke was released so I call it a win!
Recently I have been having some issues with my 73 running all of the electronic components at low RPM, and really dim lights so I took my stock alternator to a local shop and had them make sure it was working properly, the went through it and rebuilt it and when they finished it was putting out a steady 70 amps starting around 1400 alternator rpm @ 13.5 volts. I am considering one of those electric compressor AC units and I knew the stock wiring would not cut it.
I called and spoke with Powermaster at length about their 220 amp alternator, 8-48539 and they assured me that the unit would work fine. The alternator is actually a GM AD244 which is supposed to put out a higher amperage at idle.
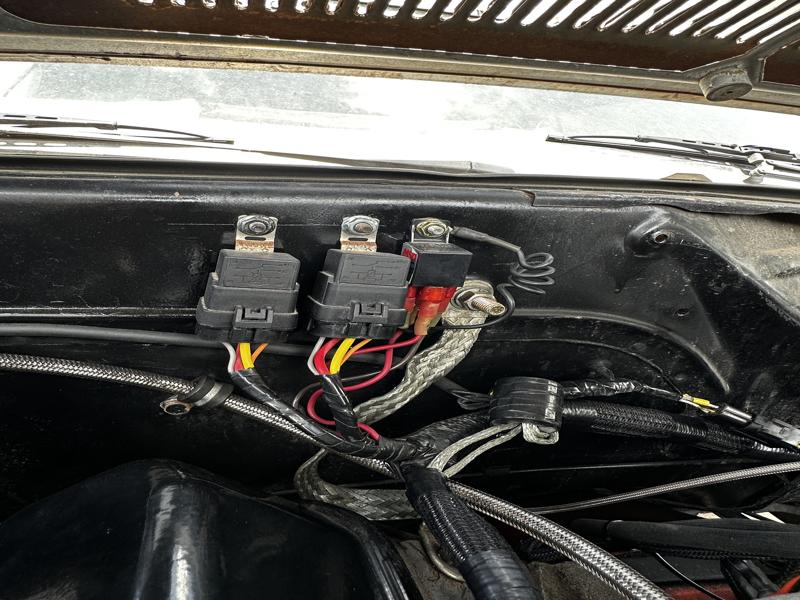
I pulled the trigger at Summit and had them send me one, it is a 1 wire alternator so that meant some electrical work was needed. I reached out to @crackedback over on the A Bodies forum, he set me up with the one wire alternator wiring setup which included a larger wire size and fusible link, an ammeter bypass adapter as well as a headlight relay setup as well, he included instructions for the electrically challenged like me.
First off, I am no sparky, but I can do simple stuff that usually turns out looking like crapola.
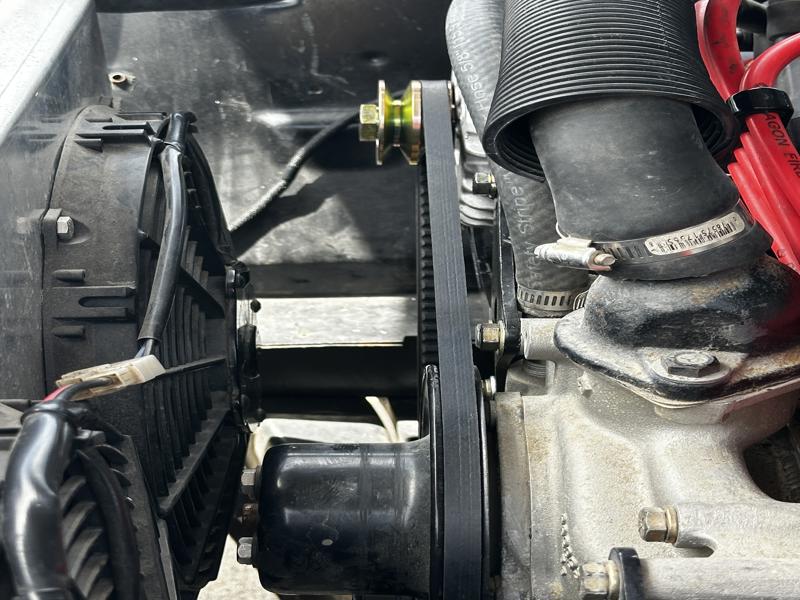
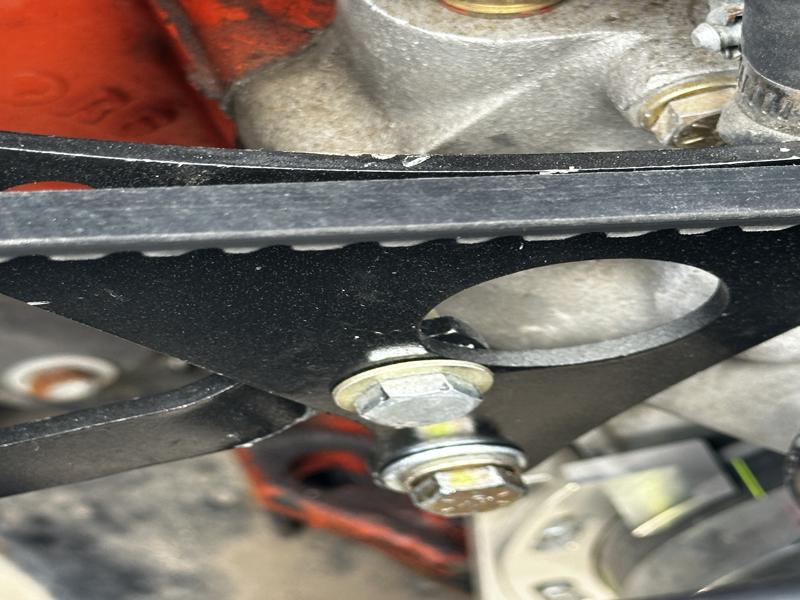
Alternator install went pretty smooth, had to drill one hole on my alternator bracket, and get a 5/16th aluminum spacer off the jungle website for the alternator spacing at the head where the large pivot bolt goes, belt lined up perfectly. So the wiring fun started, I went thorough all the engine and body grounds, opened up the harness and removed the external regulator circuits and un pinned the two wires that passed through to the alternator and added the firewall bulkhead "Y" adapter crackedback had made for me. I made a few calls to crackedback, and he walked me through everything patiently, I spent more time with the "as long as I am in here stuff" than just doing the necessary stuff.
Its basically a weekend project, minimal amount of hand tools and a drill. I ran by the alternator shop, @ 925 engine rpm it's kickin 120 amps @ 14.6V at the alternator and battery.
No more slow fan speeds, dim lights or weird noises from the fuel pump either. No smoke was released so I call it a win!