
• Welcome to For E Bodies Only !

    We are a community of Plymouth Cuda and Dodge Challenger owners. Join now! Its Free!

73 Challenger Resto, Japan

Kuruton

Well-Known Member
Joined
Oct 24, 2023
Messages
98
Reaction score
54
Location
Japan
Hey all,

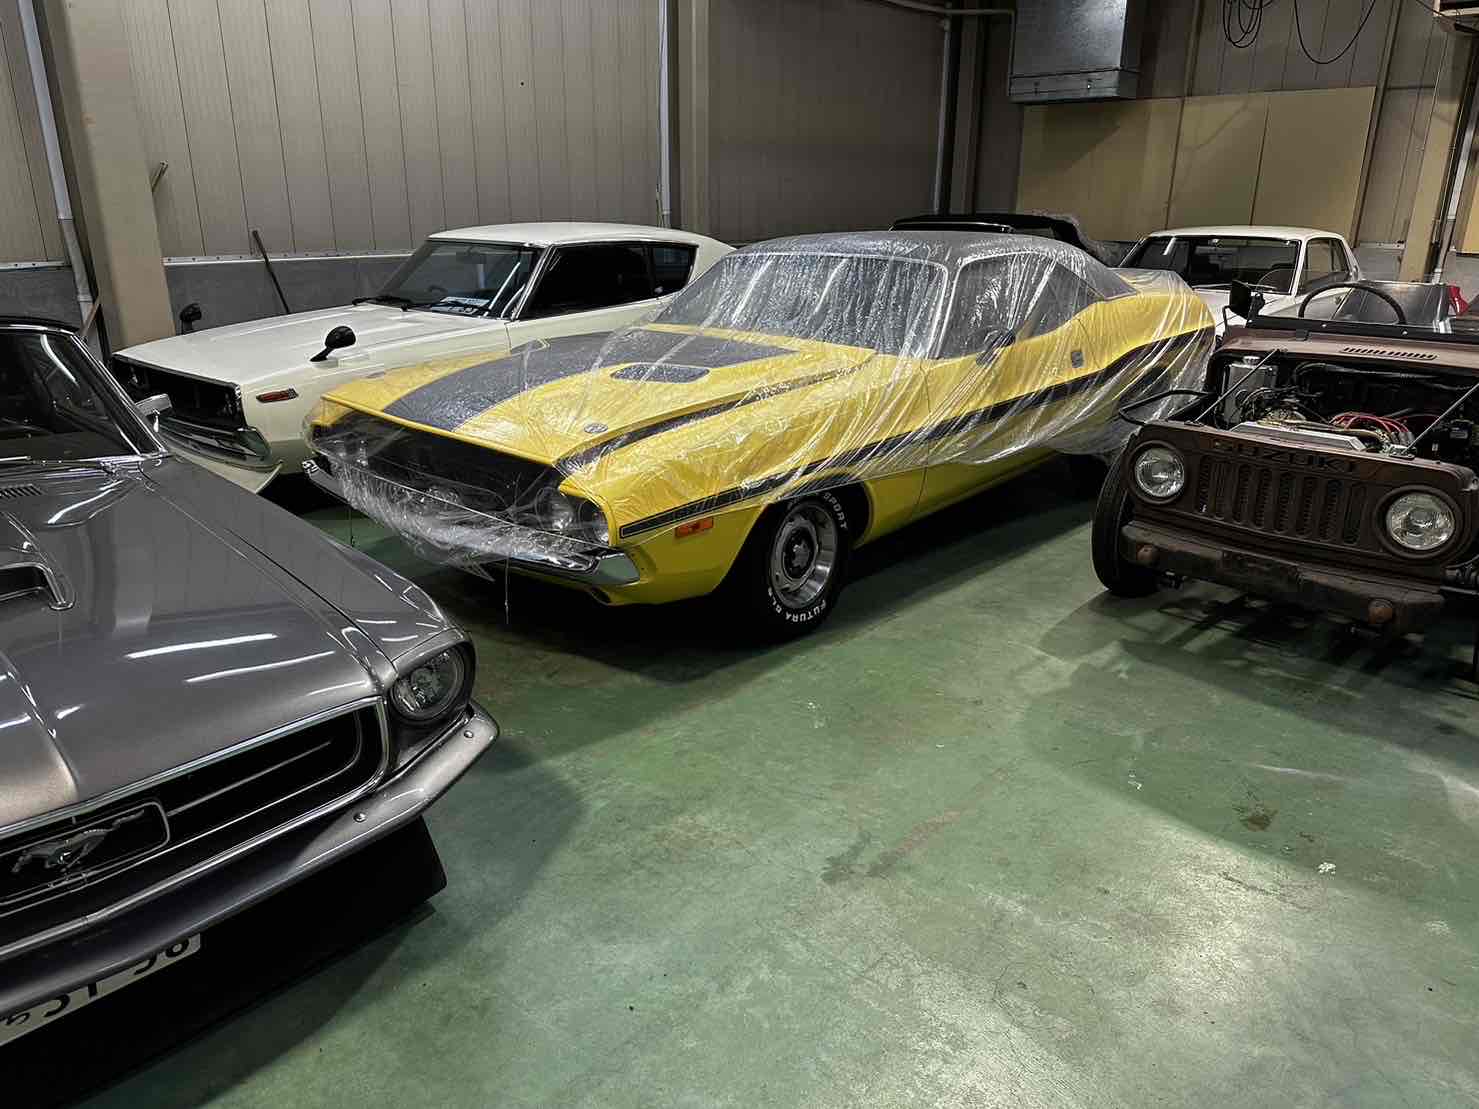
Figured I'd start a thread for the progress on my Challenger. I purchased it a bit after turning 30, in April of 2023 from an "exotic car" dealer in southern Japan. From googling the VIN, I found that it had last been sold in Florida in 2020/2021 (Used 1973 Dodge Challenger 440 V8 For Sale ($35,000) | Muscle Cars for Sale Inc. Stock #2187) seemingly directly to a dealer in Japan, who later resold it to the dealer I bought it from.

I grew up in Southern California around the muscle car scene and had always wanted to own a classic, but never had any actual hands-on experience working on cars until picking this one up. I moved to Japan when I was 18, and got into motorcycles in my 20s which did at least help me learn quite a bit about wrenching on things.

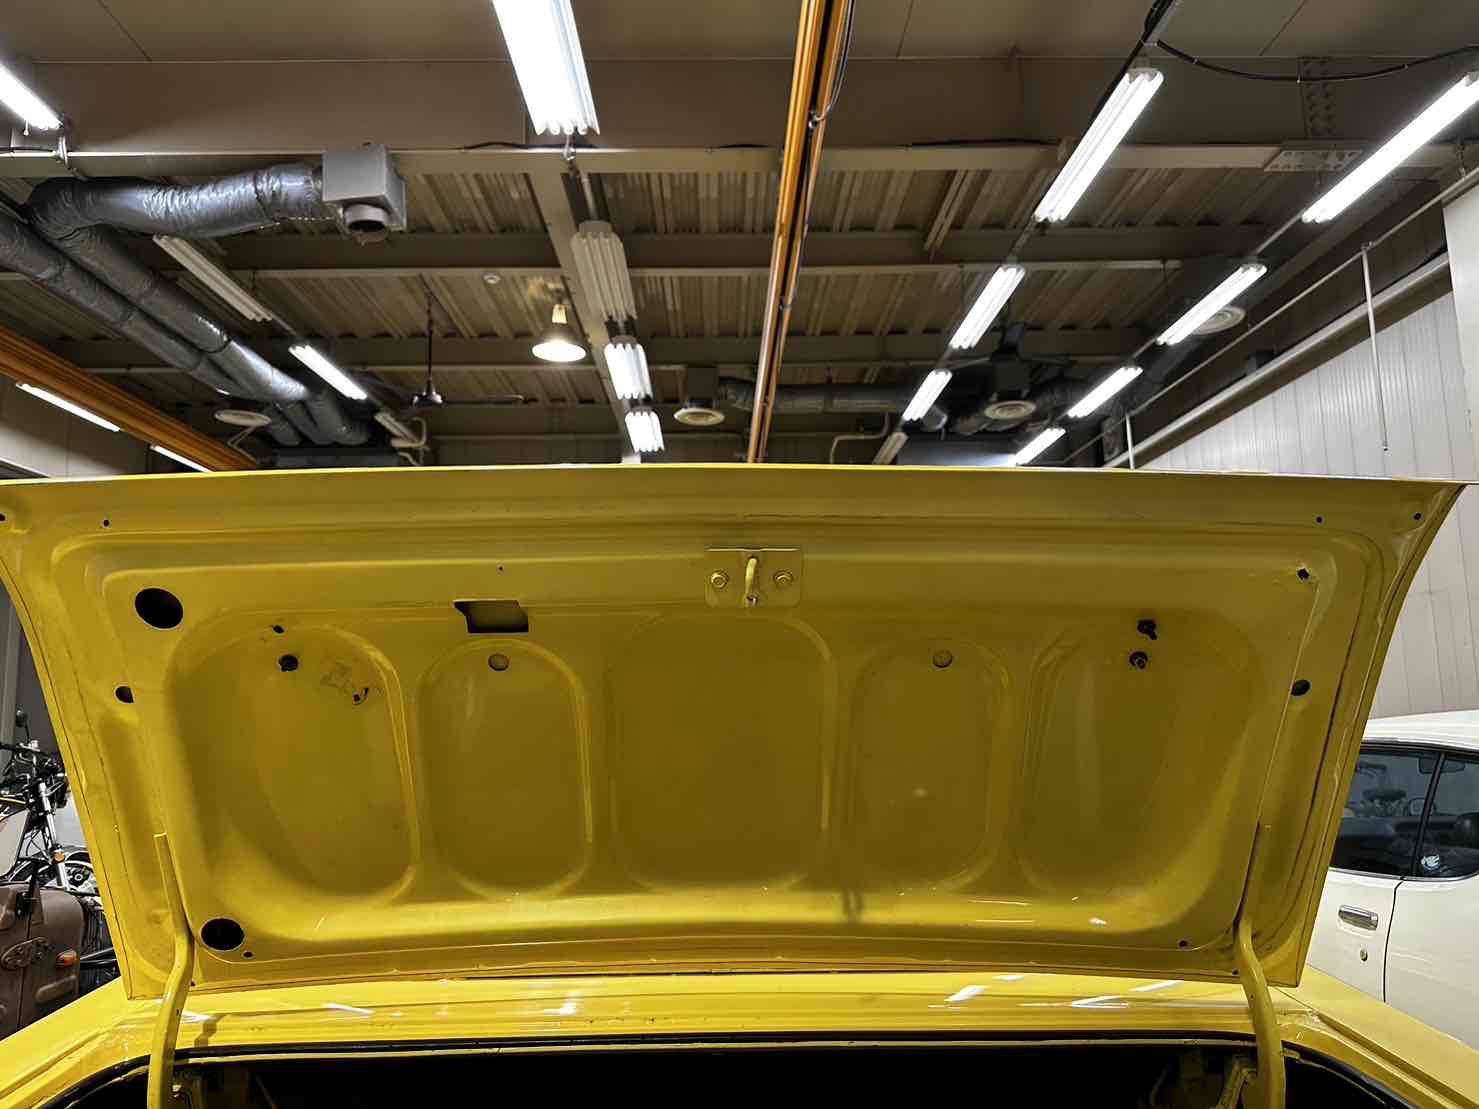
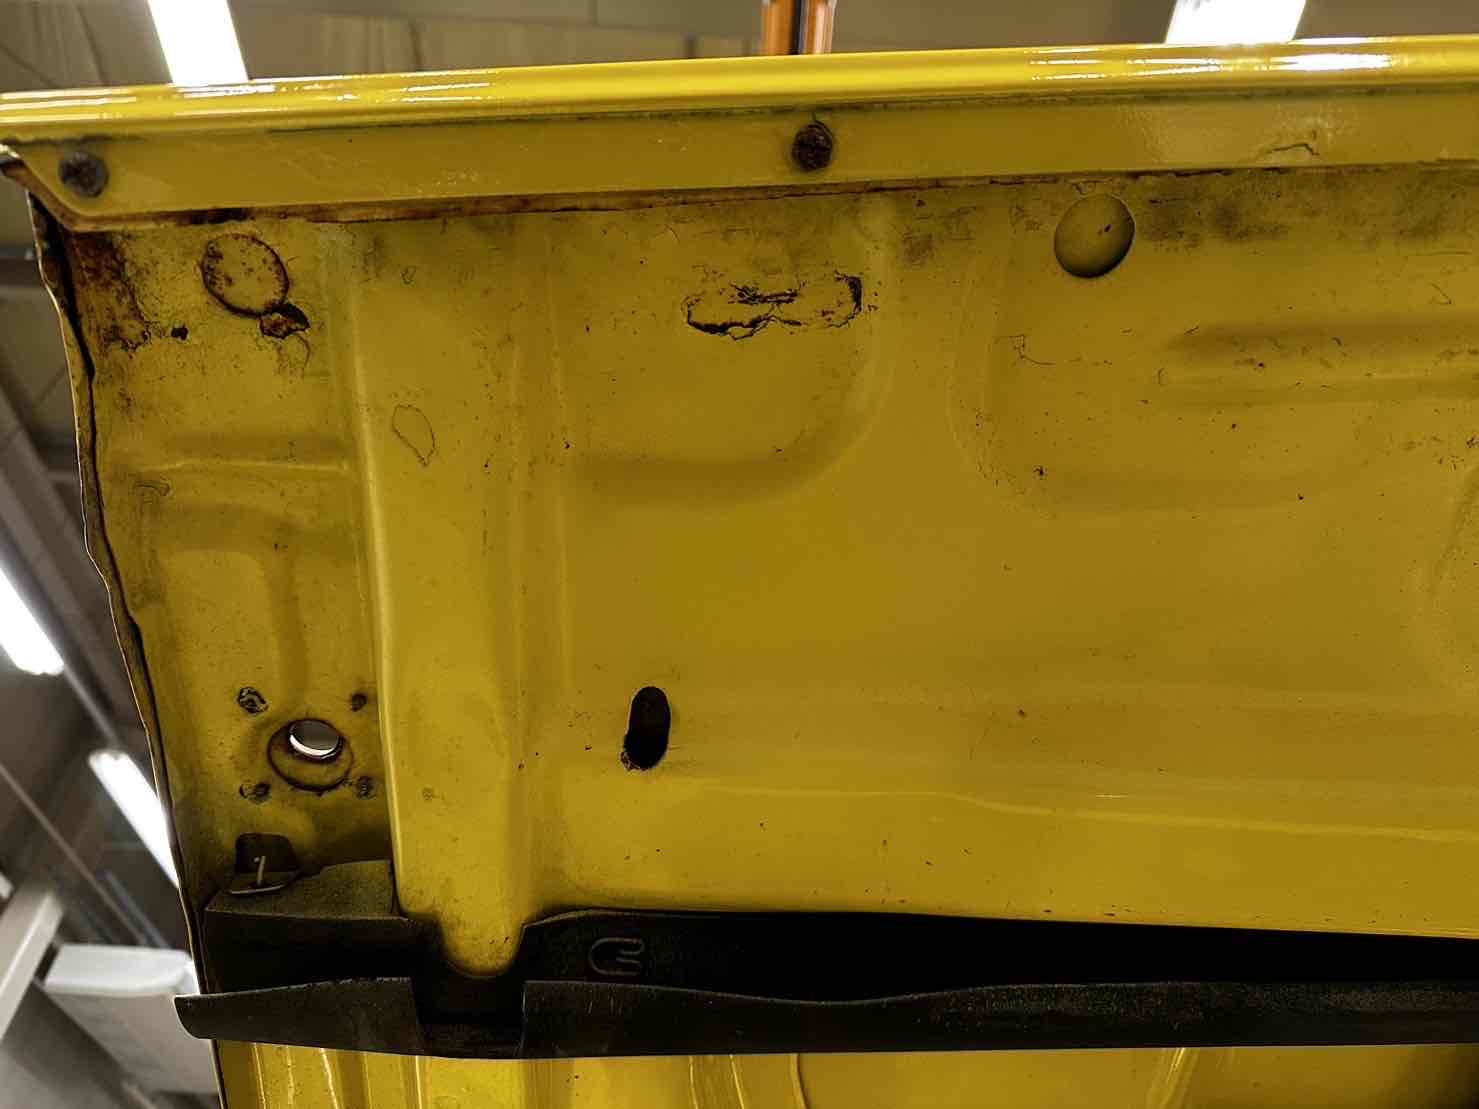
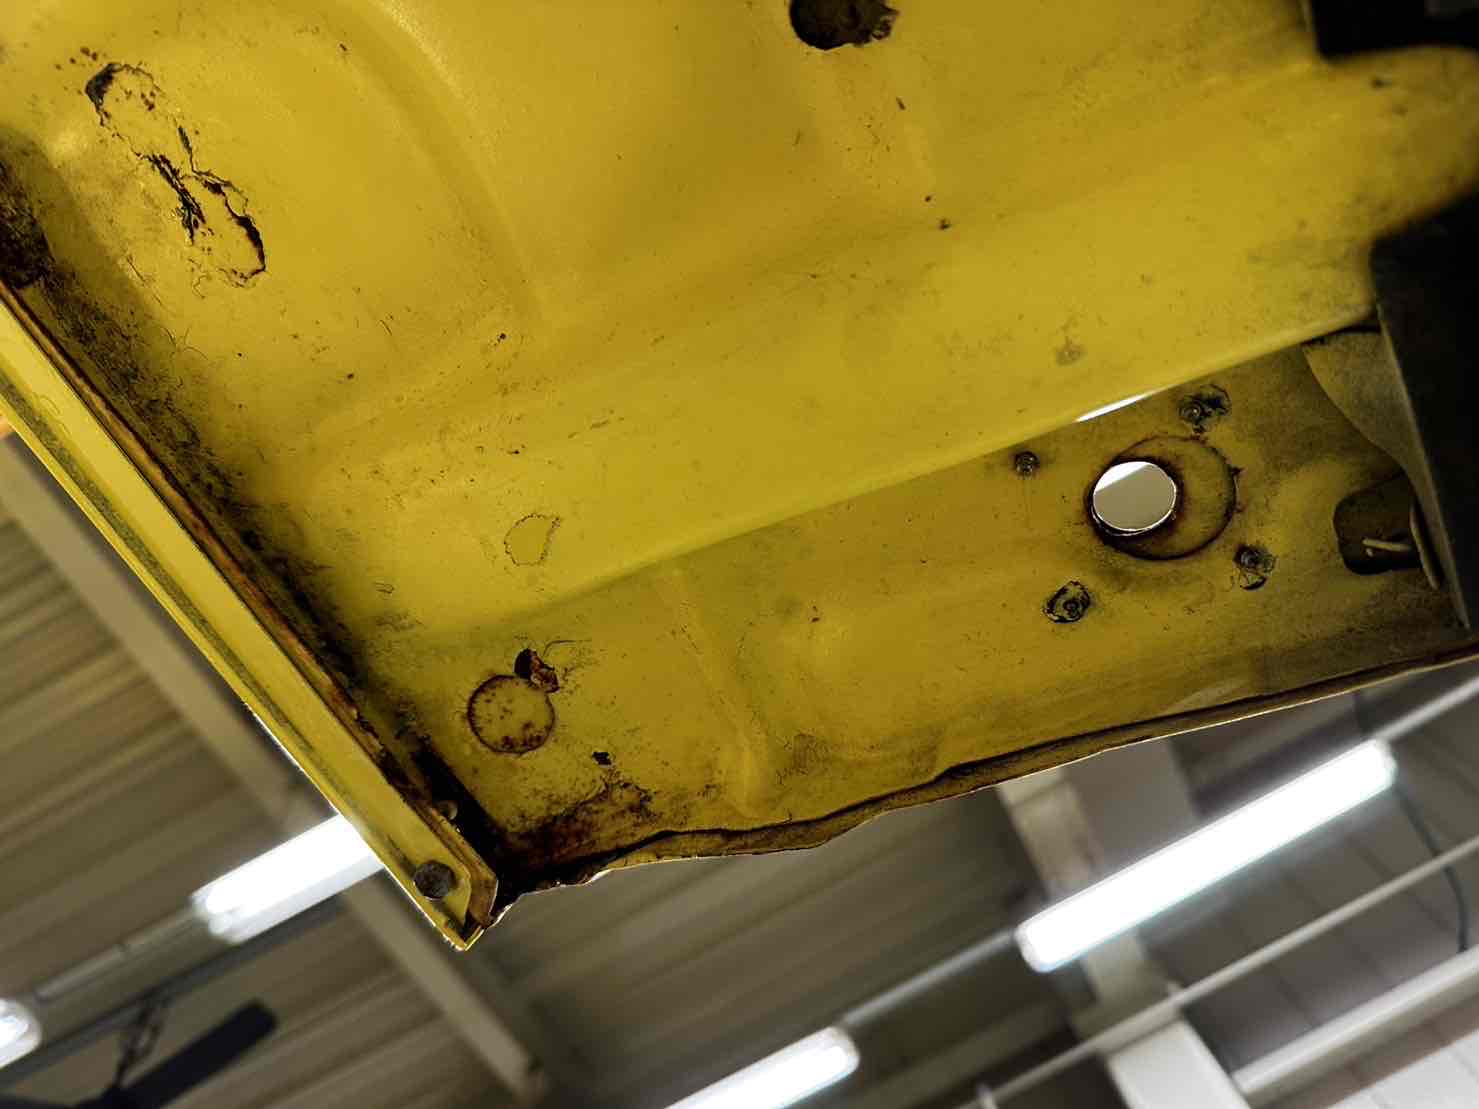
The car was originally a metallic blue, black interior, 318 + A904, vinyl top car that had been painted sometime probably in the 90s with a banana yellow single stage paint. Engine had been swapped to a decked smog-era 75-78' 440 with a matching 727. It has a sure-grip rear end that I'm unsure was original or swapped. Bumperettes had been removed and cutouts welded over, go-wing added on. There were also a ton of shoddy repairs and a lot of bondo I was not fully aware of until later on, but.. I suppose that's the nature of the beast, as well as my overall ignorance when buying the car. However, e-bodies are extremely rare out here and this one was comparatively "affordable" so I can't complain too much.

I'll post pictures in pretty much chronological order showing the state it was in when I bought it as well as the progress I've made.

Heres the photos of known rust/damage I had received from the dealer:
IMG_2232.JPG
IMG_2315.JPG
IMG_2317.JPG
IMG_2318.JPG
IMG_2198.JPG
IMG_2194.JPG
IMG_2234.JPG
IMG_2233.JPG
IMG_2228.JPG
IMG_2227.JPG
 
So based on these photos, I took the 6 hour train ride down and saw the car the following morning. Kicked the wheels a couple times and handed the owner: An extremely short guy with dyed, spiked hair, a pin-stripe suit and black painted nails, the cash and started the 1100km (700 mile) drive back up towards home.

Drove about 5 hours the first day, leaking a good half quart of oil slowly onto the Japanese highways, stayed at a hotel, topped off the oil the following morning and started the second leg of the drive.

Probably about 2 hours into the second day's 7 hour drive, unbeknownst to me, the single v belt connecting the clutch fan had slipped, causing the car to overheat and blow a crack in the radiator.

Pulled off the highway, let it cool down and limped it into the nearest town to grab some JB-weld-esque radiator repair and water. stuck it on the crack, and grabbed some lunch while it hardened. Probably gave it 3 hours or so to hopefully adhere enough to top off the radiator and hold enough pressure to make it the rest of the way home. We somehow made it, stopping every 30 minutes to top off coolant and oil. Managed to turn a 7 hour drive into a 12 hour one.
20230423_142157.jpg
20230423_160256.jpg
drive.png
 
First thing I did to get my feet wet: Radiator replacement, Carb rebuild, alternator replacement(alt died soon after getting back), new performer intake, valve covers, distributor cap, ignition coil, valley gasket and air cleaner

some "upgrades" were done without knowing much better.
20230715_121120.jpg
20230715_123955.jpg
20230727_205931.jpg
20230728_203032.jpg
20230729_123800.jpg
20230729_132156.jpg
20230729_145158.jpg
20230729_153321.jpg
 
The MSD Blaster coils are known to leak oil sitting horizontal , keep an eye on it , Pertronix has a better coil , Congrats on limping it home at least !
 
The MSD Blaster coils are known to leak oil sitting horizontal , keep an eye on it , Pertronix has a better coil , Congrats on limping it home at least !

Its on a sniper 2 now. Got lots of pictures to come. Had to put the kid down for a nap!
 
Next up was Vintage Air install with electric fans, new water pump and upgraded radiator. The first rad was an exact replacement of the radiator that was in the car. I hadn't realized that both of them were sized for the original 318cu rather than the 440. Then I took off the old side stripe and gave it a RT style stripe.
20230819_145721.jpg
20230820_181840.jpg
20230904_165701.jpg
20230905_151716.jpg
20230827_113216.jpg
 
Next, I worked up the nerve to look into the suspension. The car was all over the road. First thing I did was just ignorantly throw parts at it (a trend I continued for a while). I got a ball joint/tie rod kit and replaced what I could. I hadnt realized there was a special socket needed for the upper control arm ball joint until the car was already apart. There was no way to get the socket locally, so itd be a couple week wait. For whatever reason, I took that as a sign to go with QA1 UCAs and swapped those in instead.

After that I started renting lift time and checked out the underside of the car. I realized that the torsion bar housing on one of the LCAs had been completely ripped out (car was riding on bump stops on both sides anyways, so it wasnt apparent height-wise) and that the LCA had blown straight into the frame rail. Lots of misalignment issues and damage/shoddy repairs as well. In the pics you can see the shocks, UCAs and ball joints that I had already replaced.
1699864243624.jpg
20231116_175236.jpg
20231129_175159.jpg
20231130_163351.jpg
20231130_170840.jpg
20231130_170919.jpg
20231130_170941.jpg
20231130_171008.jpg
20231130_171049.jpg
20231130_171124.jpg
 
So after seeing the state of the suspension I decided to round out the rest of the QA1 kit and got the tubular k-member, LCAs, sway bar, etc. as well as new calipers. Made some repairs to the frame as well that will have to work until I can do a better job replacing the entire frame rails at some point.

(To be honest, I kind of regret not going with the entire rack & pinion + coilover kit now. Might swap to that when I eventually have the engine out)
20231219_175953.jpg
20231227_163101.jpg
20231227_163311.jpg
20231227_163319.jpg
20231228_133047.jpg
20231228_155423.jpg
20231231_123115.jpg
20231231_123120.jpg
 
In the pursuit of making this my daily driver I looked into the Holley Sniper system next. Japanese neighborhoods are extremely dense and people don't take kindly to letting your loud American car idle for 10 minutes at 7am every day. I love carbs on my bikes, but I was looking for something I could tune on the fly and (hopefully) be reliable. The Sniper 2 system I went with achieves that... usually.
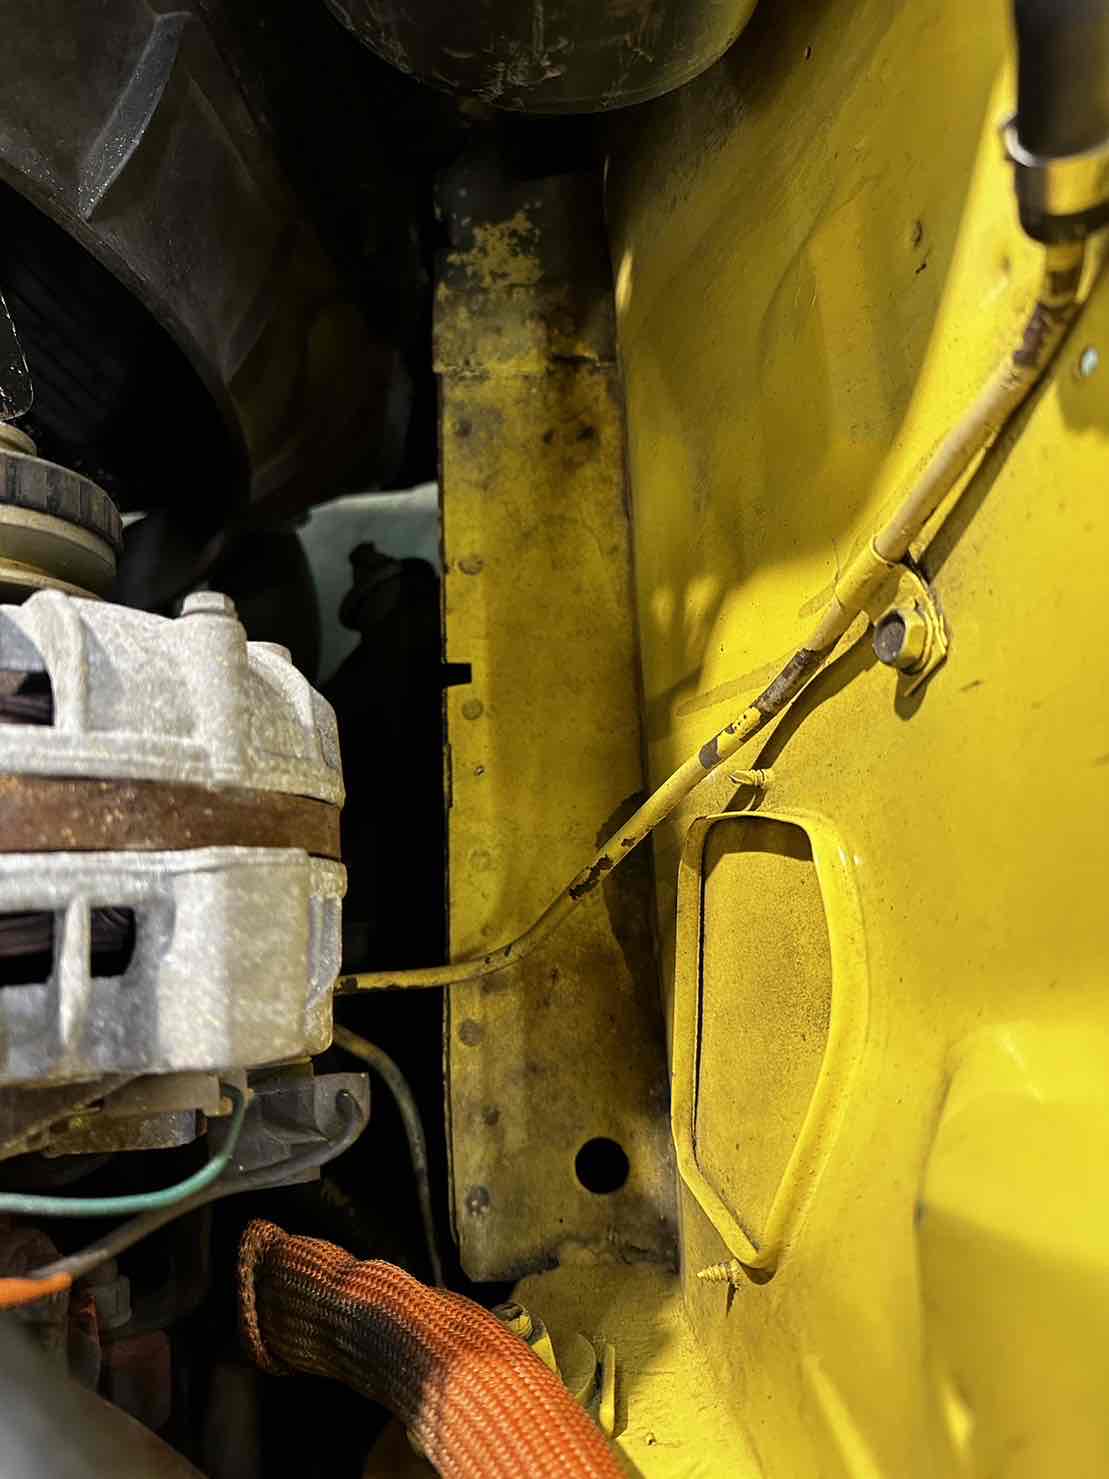
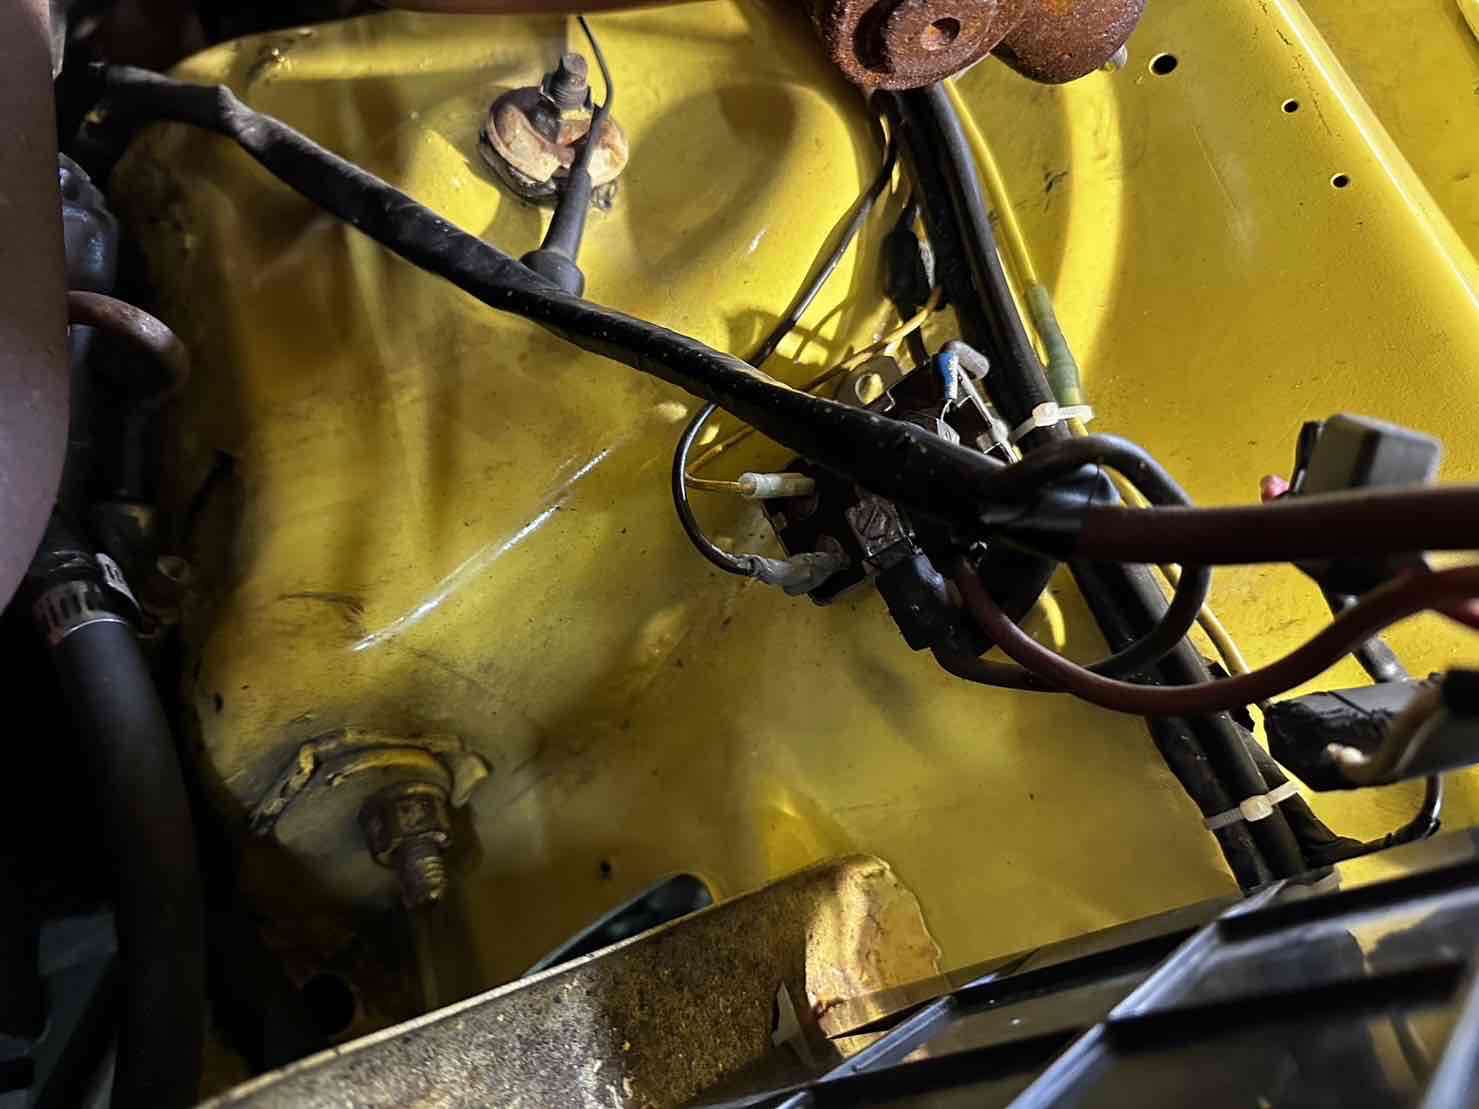
3d printed brackets in nylon to deal with heat and mounted the PDM to the firewall and Ignition system to the fender well. Ended up building a diagram to integrate the Sniper 2 with the vintage air system as the one put out by holley at the time was incorrect. Still get messages on here asking for help from people going the same route.
20240513_174153.jpg
20240513_174200.jpg
20240513_180516.jpg
20240514_210100.jpg
20240514_210106.jpg
20240520_194039.jpg
20240521_185358.jpg
 
Ended up going through a few different iterations of alternators and brackets along the way to support the AC as well as the new electrical demand. Kept having issue shredding and throwing belts. Most of this was due to my own lack of knowledge but I threw money at the problem and ended up going with a ribbed serpentine system.
20240705_115124.jpg
20240705_162833.jpg
20240713_153724.jpg
20240713_161351.jpg
 
Fortunately/Unfortunately this is a point where I took less pictures and did more work. At some point I ended up swapping my rear brakes over to disc as well as grabbing some Dr.Dif rear axles, single adjustable QA1 shocks all around, new Dougs headers, better radiator fans and shroud, designing and printing a holder for the Holley display, Lokar throttle and kickdown cables, repacing the plastics in the steering column for the turn signals, new rod bearings, and going with an actual EFI tank instead of a conversion kit, 70-71 bumper brackets, etc

Also with the new brakes, the Ralleye wheels no longer fit so I experimented with some wheels I found cheap local.
20250119_135055.jpg
20250111_111246.jpg
20250302_113322.jpg
20250308_113858.jpg
20250308_140927.jpg
20250329_140239.jpg
20250518_141700.jpg
20240824_170349.jpg
 
After that I spent months finding someone out here willing to touch my car. Japan has really moved to the mentality of discard rather than repair, so finding anyone willing to do a full strip-down paint job or do anything beyond basic bodywork was difficult. One guy I talked to said he could get to it after 1-2 years, it would take another 1-2 to finish and cost at least 20k. Everyone else just flat-out said no.

I got a break because the manager of the auto hobby shop on base (I work on a US army base) had started offering a painting service. He had a guy working for him doing body work on the base vehicles, like basic vans and trucks used by maintenance staff or rented out to military folk. This guy had worked for Toyota/Lexus for 30 years in both Japan and Canada but had never touched a classic.

Initially the manager had said his guy wouldnt be able to do it, but after some persuasion he let his guy look at it and he agreed to take on the project. I had seen some of his previous jobs and he does great work but its a single guy on a salary, so he's no speed demon.

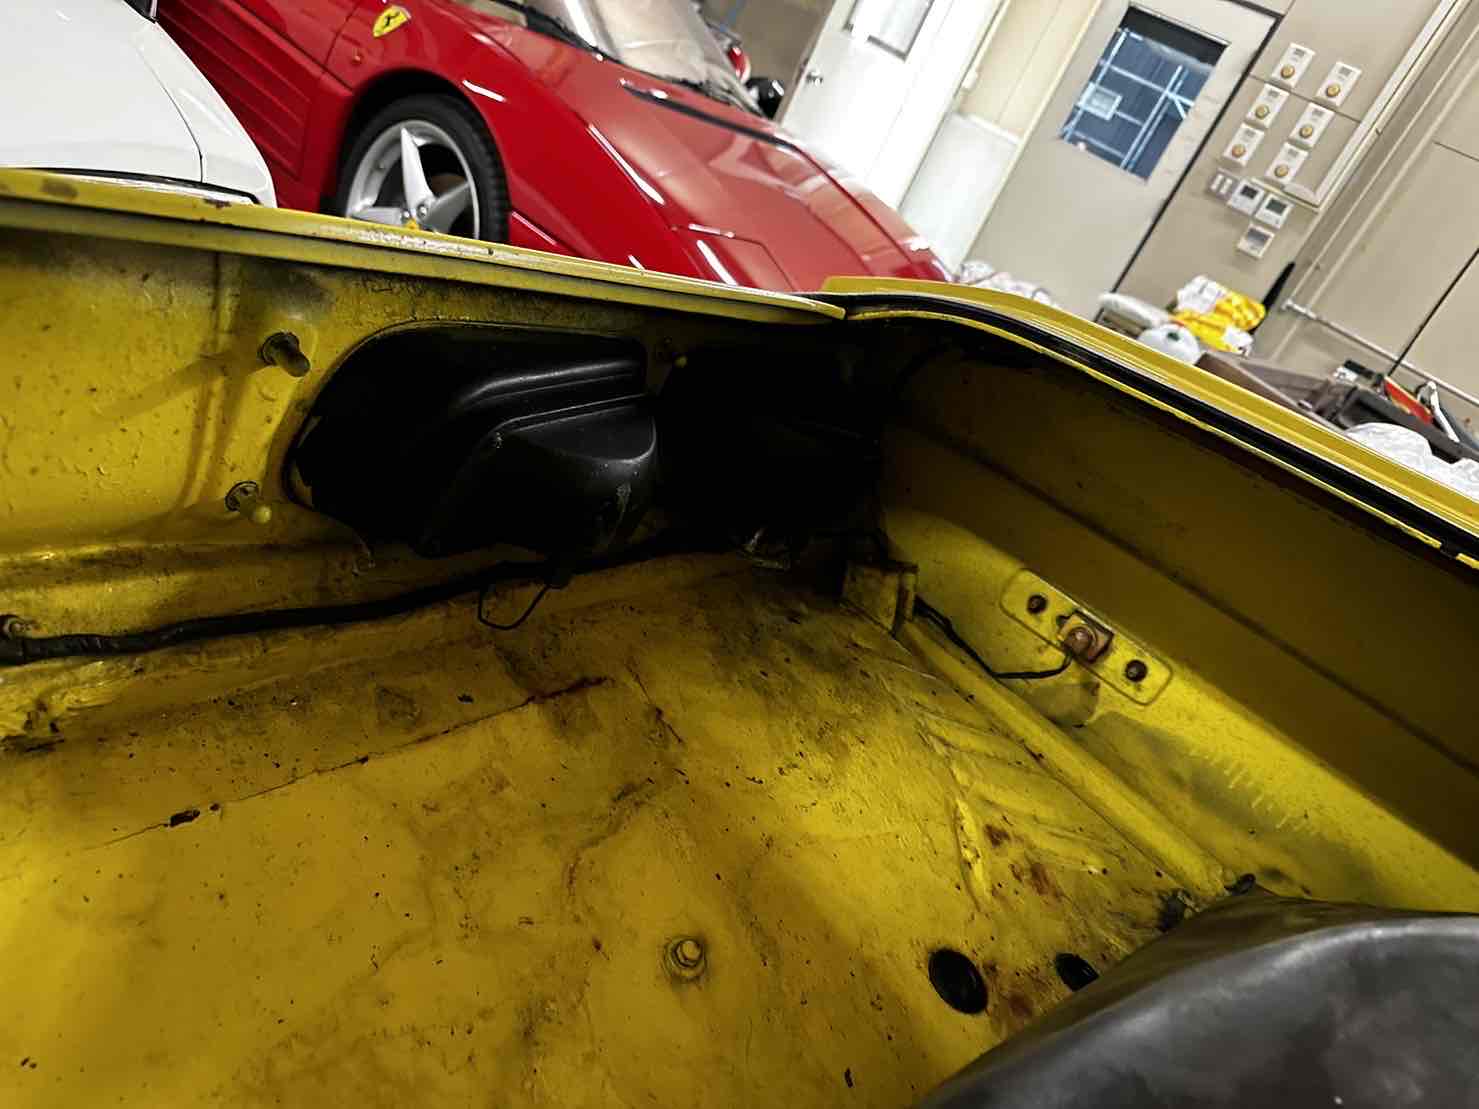
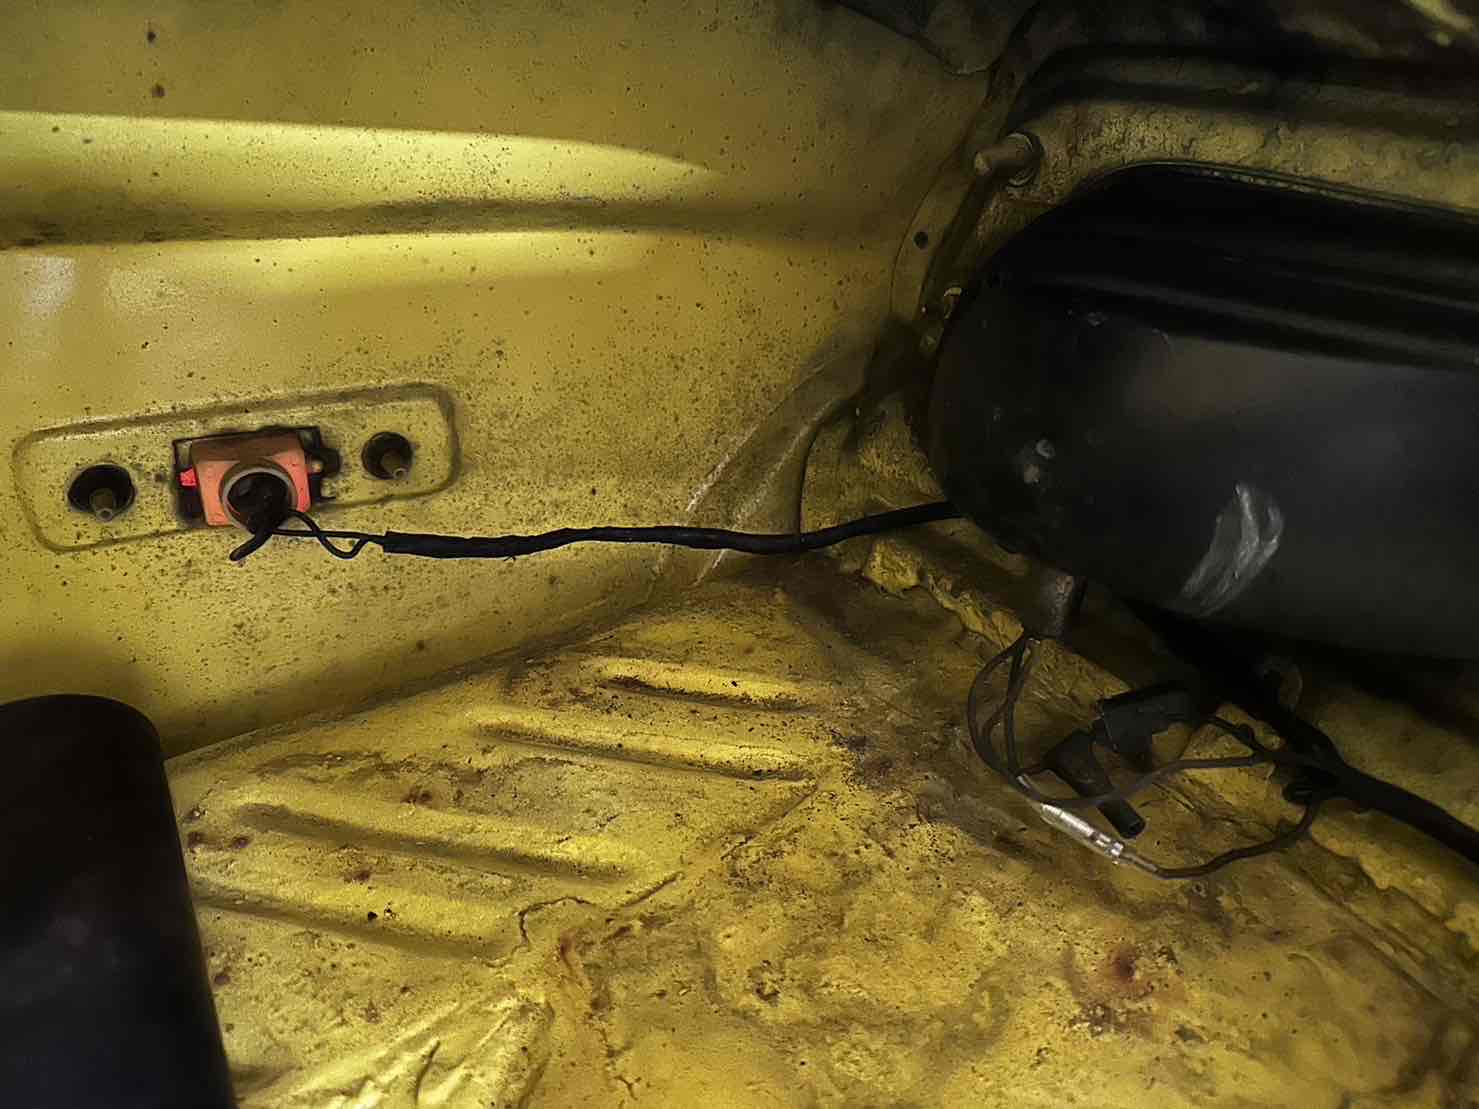
while he was finishing up another car, I got working on replacing the trunk because that was the one part I already knew was beyond repair.
1754709940344.jpg
20250810_151721.jpg
20250813_145050.jpg
20250817_193807.jpg
1755839390575.jpg
20250813_123613.jpg
1755074627725.jpg
20250823_150051.jpg
1757238600127.jpg
1757238626891.jpg
 
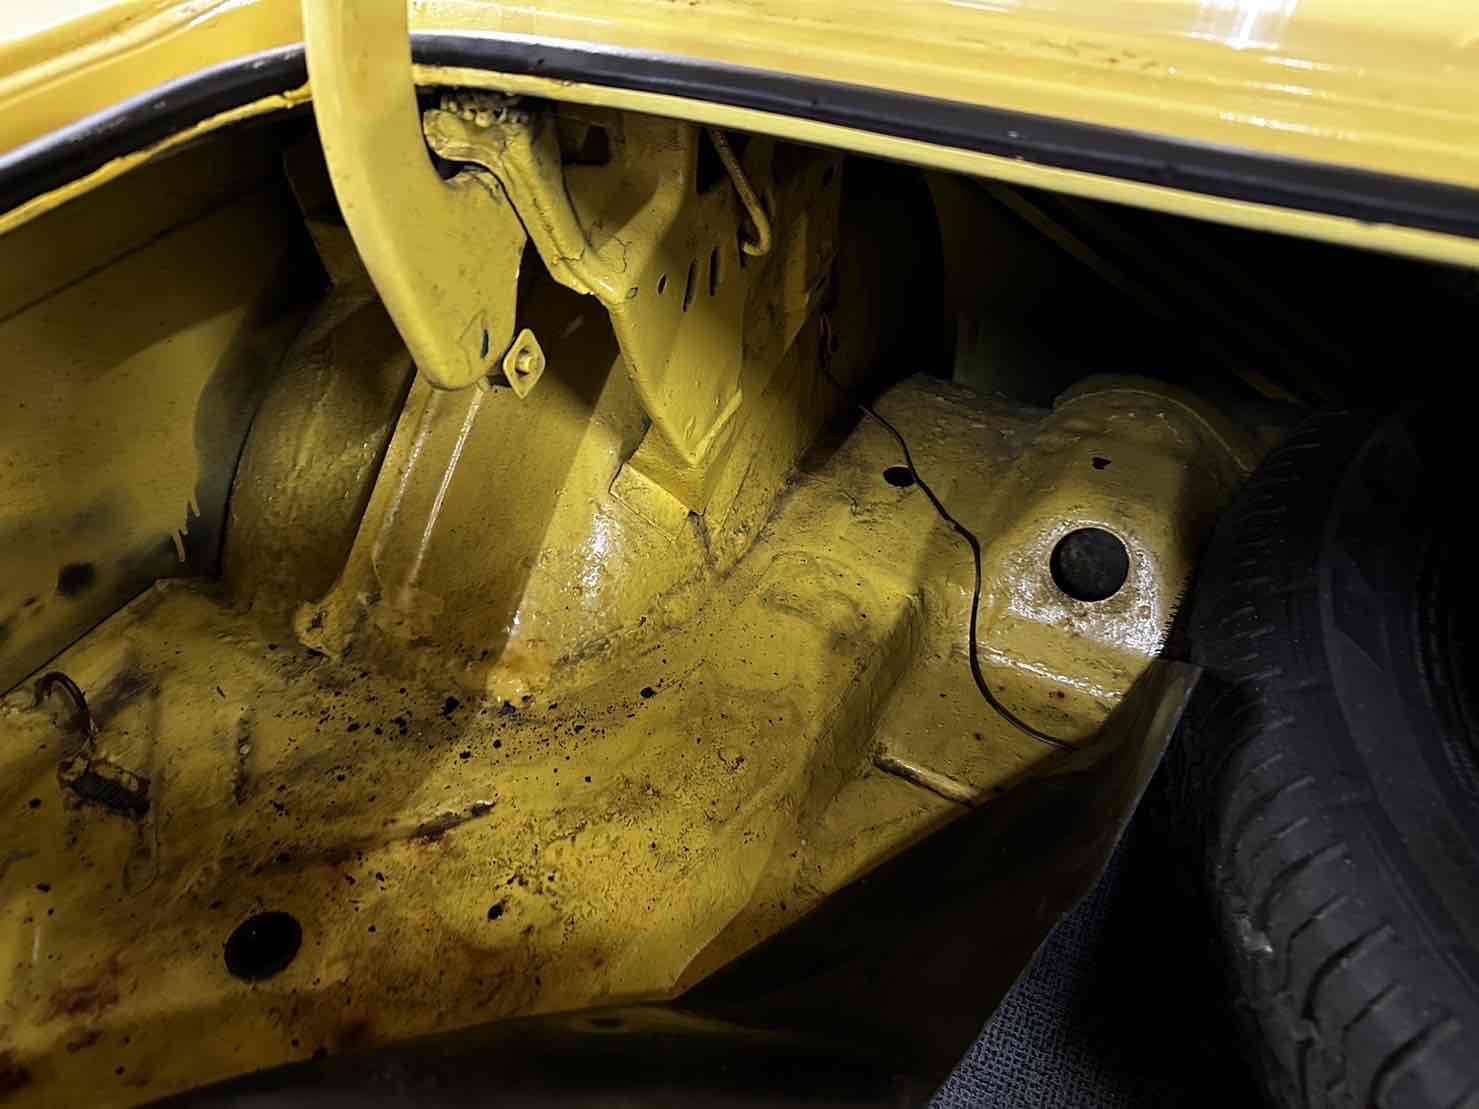
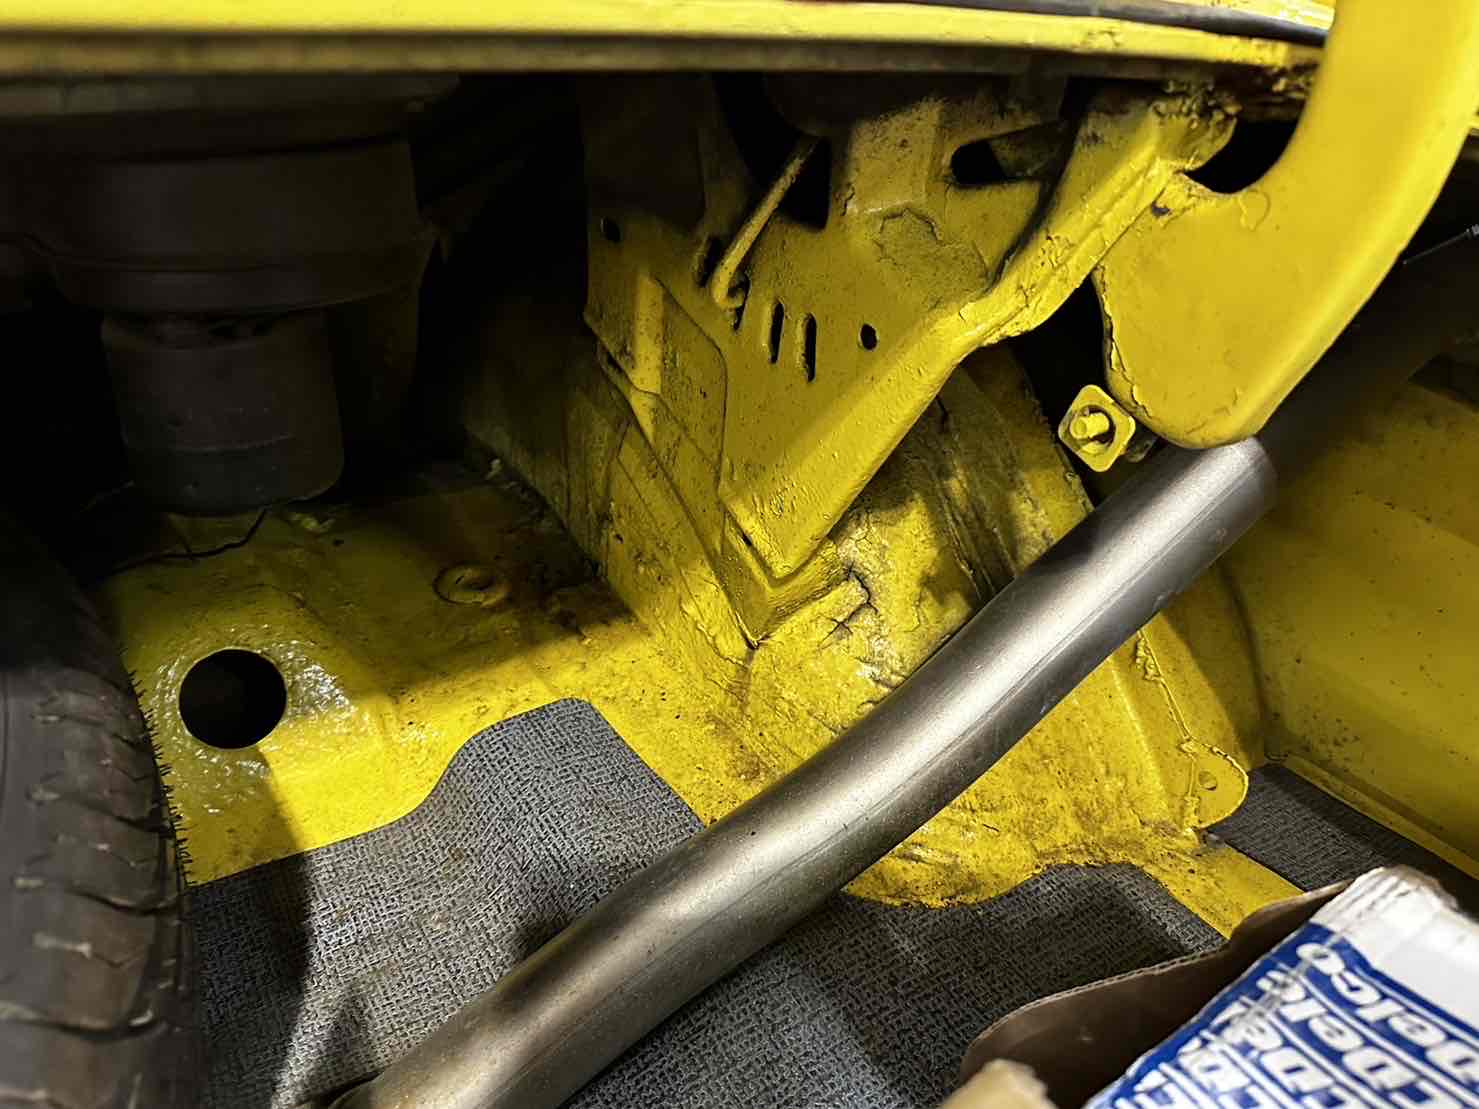
I only got one decent photo at night, but I did a pretty decent job fixing up the rear frame rails. I stripped away any accessible rust, replaced thin and destroyed metal, applied rust converter and preventor, etc. You can see the right side in the pic with half the floor in above.

After doing the trunk floor, I realized the trunk side gutters needed be replaced too. Also I took the opportunity to order a new trunk lid, deck panel, hood, and floor pans while I was already out the shipping cost of sending to Japan.
20250823_130129.jpg
20250827_223227.jpg
20250913_095056.jpg
20250913_095101.jpg
20250913_134100.jpg
20251108_162007.jpg
20251123_152937.jpg
1757243004887.jpg
20251122_140852.jpg
20251122_142136.jpg
 
I replaced the back glass with an AMD piece and immediately regretted it as you can see. Managed to make it all the way across the globe but shattered as soon as I reinstalled the trim. Eventually moved to Auto City Classic glass all around and it is MUCH better quality.
1763973813024.jpg
1763973813587.jpg
1763973813654.jpg
 
Will upload more tomorrow. Next is when paint stripping and body work started. Lots of pics of that process if anyone is interested. Ended up helping the guy with his English study in exchange for him to let me work with him and teach me what he knows.
 
Back
Top