• Welcome to For E Bodies Only !

    We are a community of Plymouth Cuda and Dodge Challenger owners. Join now! Its Free!

73 Cuda Front End Surprises.

tpietzsch

Member
Joined
Jun 29, 2011
Messages
24
Reaction score
1
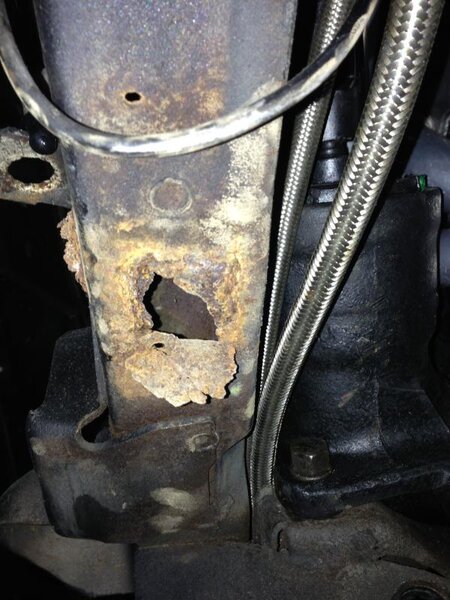
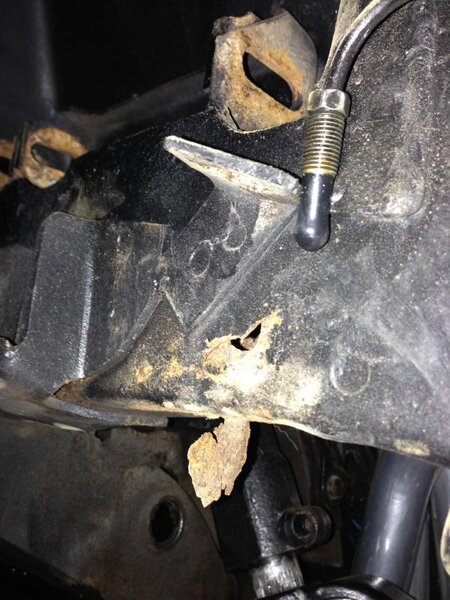
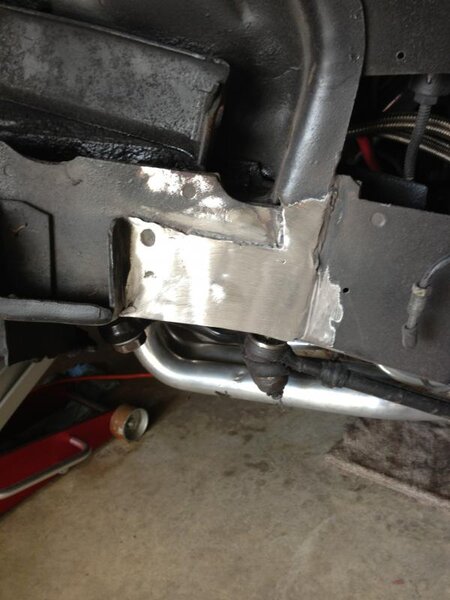
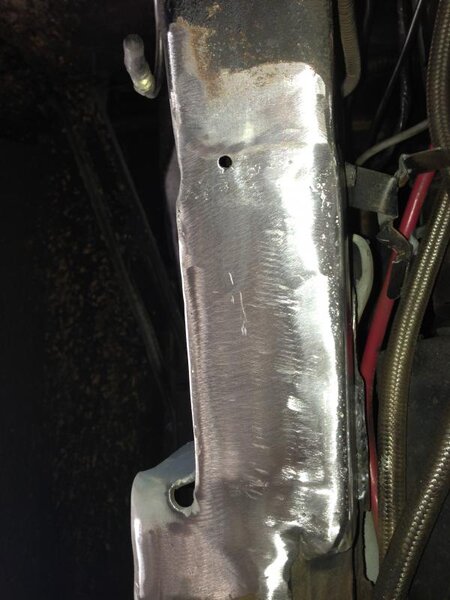
I spy a big a$$ hole. Found this under the splash guard while cleaning up wheel well. A ton of dirt, sand, and rocks fell out after I opened it up. Assuming with all that crap it took a long time to dry out. I may use this as an excuse to buy a welder for a little patch repair.
cuda hole.jpgcudahole1.jpg

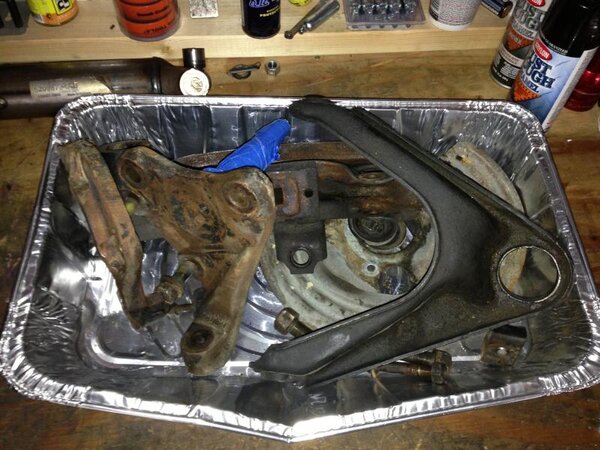
Parts to be cleaned and painted.

blaster.jpg

Degreased and cleaned up.

clean.jpg

cuda hole.jpg


cudahole1.jpg


blaster.jpg


clean.jpg
 

tpietzsch

Member
Joined
Jun 29, 2011
Messages
24
Reaction score
1
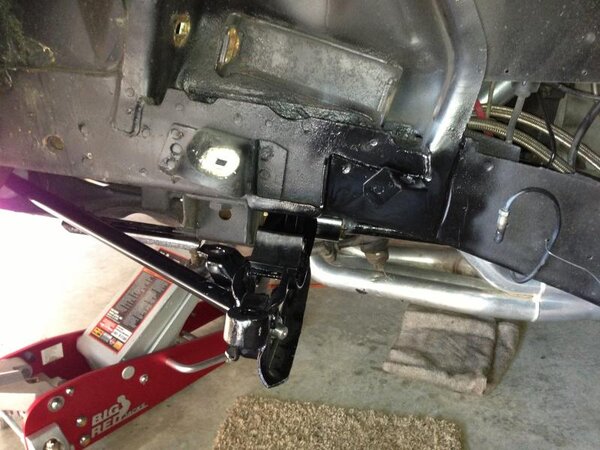
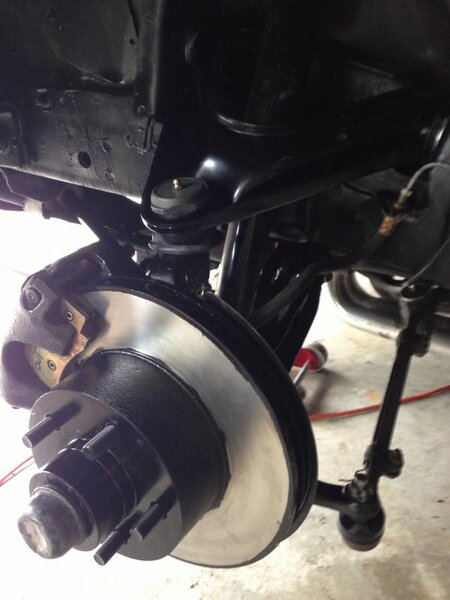
Been slow going on the Cuda. Life gets busy but I was able to make some progress this weekend. Made and welded in some patches. Got the lower arm in along with the strut rod and torsion bar. I just need to order up a another A-arm (ball joint wont take any torque) and lower ball joint. I think other than spindle dust caps I'm golden (ordered Dorman 13991 but these don't look correct for disc brakes). patch1.jpgpatch2.jpgpatch3.jpg

patch1.jpg


patch2.jpg


patch3.jpg
 

tpietzsch

Member
Joined
Jun 29, 2011
Messages
24
Reaction score
1
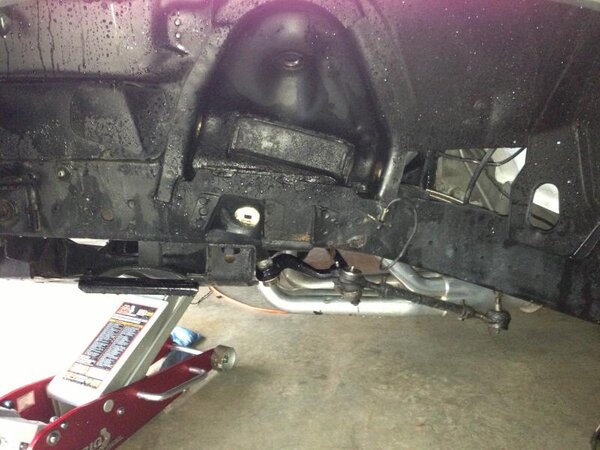
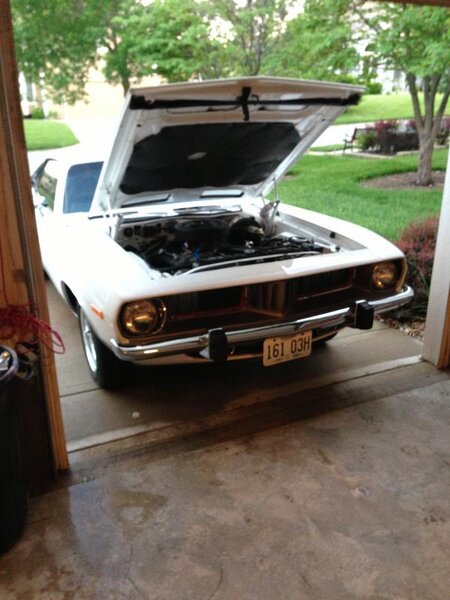
Alright Dudes, I finally got the other side buttoned up so she's officially off the jack stands. Everything is out of whack so I plan to set the ride height and get it close enough to roll at speed without effing something up. Lucky for me I found a local shop with certified gearheads who are familiar with Mopar's so this, in my book, equals a SCORE! I plan to take Chryco Psyco's alignment spec suggestions so thank you for that. I still need to shop for shocks but it's not a priority at the moment so thanks for the tips and discussion on brands. Appreciate everyone's comments and I hope you liked the pics because these threads are worthless without photos (e-body babes). No regrets with tackling this project as I've learned a ton so step out of your comfort zone and do it. Just be mindful its what you cant see that gets ya (in other words "up your budget estimates"). After the alignment I'll submit some final pics and thoughts. Excited to see how she rides and drives. Next up will be Leaf Spring and rear sway bar bushings.

Cuda002.jpgCuda006.jpg

Cuda002.jpg


Cuda006.jpg


Flexy.jpg
 
Last edited:

tpietzsch

Member
Joined
Jun 29, 2011
Messages
24
Reaction score
1
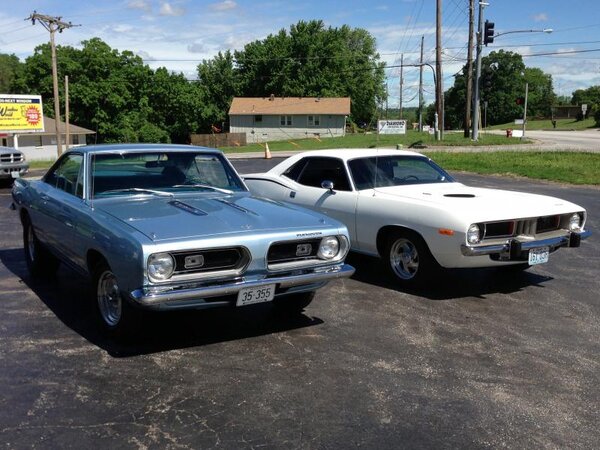
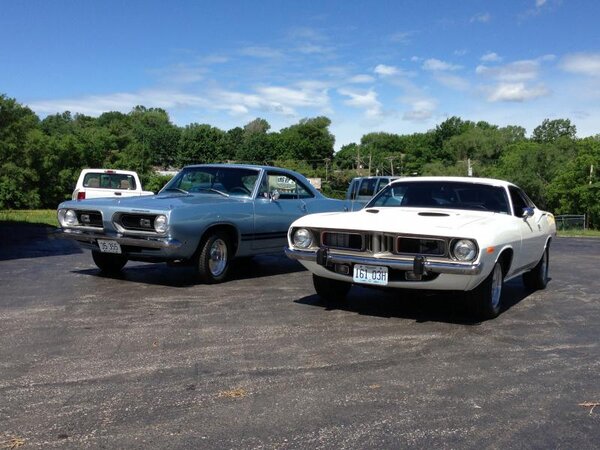
I knew the alignment was going to go well when I saw this blue fish in the parking lot. Rare enough to see one Cuda but two!!!!! The alignment went well and my initial impressions are wow I'm so glad I did this. No squeaks, doesn't drift, tracks straight, I even took my hands off the wheel for a bit (I know living dangerously). So now, instead of hearing front end rattles and bangs I now hear the horn button rattling along with the ash tray in the center consul. All in all, with the car being a weekend cruiser all is good. I do wonder though how much better it would be with some Hotchkiss upper arms but I just couldn't justify the cost. This concludes my write up.

alignment2.jpg
Alignment1.jpg

alignment2.jpg


Alignment1.jpg
 

3406pk

Active Member
Joined
Dec 28, 2008
Messages
28
Reaction score
7
Location
Devils Lake, ND
You can adjust the freeplay in the steering gearbox also. That will help with steering wheel play. Sorry didn't see pages 2 & 3 before I posted. Great work on repairing the rust rot also.
 
Last edited:
Back
Top