This isn't rocket science and while it is a fair bit of work it isn't that hard. I agree with doing one at a time. Think about how all the parts interact with one another and that will give you an idea of what order you should do them in, however "if it were me" I would probably do the tail panel first so that I have a reference in the back, then the trunk floor extensions and then one quarter at a time. I am sure someone will have a better idea but in my mind thats what I would "probably" do.
I put quarters on my 73 Cuda and that was my first time, I literally used a plasma cutter and whacked off about 3/4 of each one, then drilled out the spot welds and cut out the remainder and at that point I didn't any any quarters on the car (did have the tail panel). I installed new quarters which took a little time but they came out great.
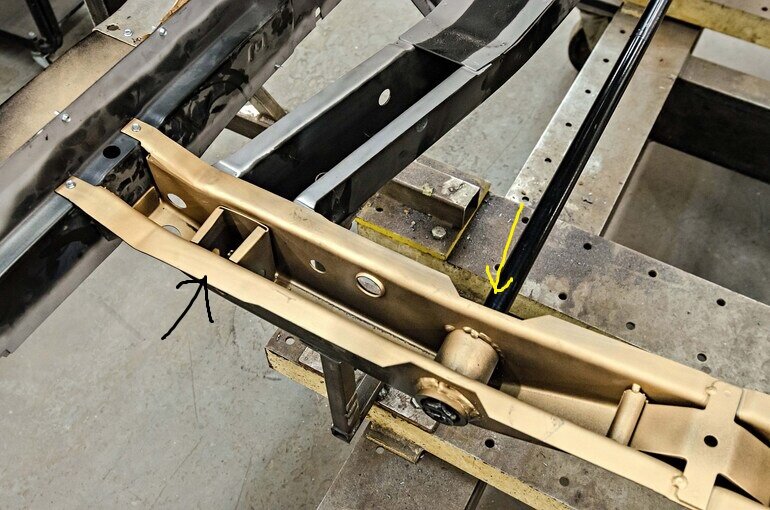
Again, not that hard, go slow and think it through. Clecos and clamps are your friends to be sure. also self tapping screws are awesome doing this. Screw, clamp or Cleco things together long before you weld anything. Once everything fits, the gaps are good (trunk lid), and the rear valance fits right then you can start welding.
Look up junkerup on youtube, he does primarily Chargers but you will see a lot of tips and tricks that will transfer over to what you are doing or want to do.

 cudachuck
") But if you need some immediate help I am sure we can collectively be of assistance or you can PM individuals. I don't know about anyone else but I am on here pretty much daily multiple times a day (being retired has its perks but doesn't pay all that well).
But if you need some immediate help I am sure we can collectively be of assistance or you can PM individuals. I don't know about anyone else but I am on here pretty much daily multiple times a day (being retired has its perks but doesn't pay all that well).