• Welcome to For E Bodies Only !

    We are a community of Plymouth Cuda and Dodge Challenger owners. Join now! Its Free!

Need help tearing down my challenger!

Benjamin Nelson

Well-Known Member
Joined
Jul 26, 2020
Messages
74
Reaction score
25
Location
canada :(
Hey everyone. I’m disassembling my 74 challenger to paint it. I will be doing all the work myself. This is my first MoPar and my first car. How do I remove the window, door handles and latch from the doors? I just tried to do it but saw all these little clips holding the linkages together. Is there a special tool I need and don’t have?
Any help appreciated.
 

Chryco Psycho

Well-Known Member
Joined
Dec 28, 2008
Messages
4,455
Reaction score
2,101
Location
Panama
Take more pictures than you can imagine & put every fastener in marked baggies !!
Door linkage clips snap over the rods so just roll them off the rod & the end of the rods will slide out of the clips , usually you can disconnect them with your finger or the aid of a small screwdriver or pick tool .
 

70chall440

Well-Known Member
Joined
Dec 11, 2010
Messages
1,260
Reaction score
979
Location
Western Washington
Download the factory service manual for a Challenger from https://mymopar.com/service-manuals/ it doesn't have to be for a 74, they have the 73 body and service manuals (get both). There are a lot of drawings and instruction there that will be very helpful. The manuals along with the pile of pictures that you took (should take) will help you take it a part and put it back together.

Another "tip", get yourself a box or 2 of freezer bags (a couple different sizes) a roll of masking tape and a sharpie; bag and label EVERYTHING. Be specific in your labeling i.e. drivers side locking rod, passenger side latch rod, etc. While I am sure you intend to get the car painted and reassembled, it never happens the way you think it will and too many times reassembly occurs a very long time after disassembly.

One last thing, get yourself some boxes (or bins) and put all of your parts together as a group, i.e. all the parts from the drivers door in one box/bin and everything from the passenger side in another. Personally I like to put all of my bolts back into whatever threaded area they came out of, as an example when you remove the bolts from that hold the window regulator and remove it, put the bolts back into the threaded blocks in the regulator. This way you don't lose any bolts and you know where they go.
 

Cuda Hunter

Well-Known Member
Joined
Dec 28, 2008
Messages
3,011
Reaction score
1,064
Location
high mountains Colorado
I have to add to this, Take More Pictures.

You can not take enough. I try to take a picture of every single bolt that I remove so I can reference it.
 

70chall440

Well-Known Member
Joined
Dec 11, 2010
Messages
1,260
Reaction score
979
Location
Western Washington
In reference to the pictures, you need to try and organize them in some fashion so you can easily find what you are looking for. Far too many times I know I have a picture of this or that part and end up spending a pile of time trying to find it or figure out what is in question.
 

Adam

Well-Known Member
Joined
Dec 25, 2012
Messages
1,647
Reaction score
705
Location
Washington
Don’t throw anything away, don’t assume you can get new replacements. Old parts are useful for comparison or making a pattern if you have to fabricate something. And stay organized; it takes me a couple of years to go through a car and I often forget where I put the parts. Recently, I bought a rubber windshield gasket for an old truck because I couldn’t find the other new one I previously bought... now I have two.
 

70chall440

Well-Known Member
Joined
Dec 11, 2010
Messages
1,260
Reaction score
979
Location
Western Washington
Don’t throw anything away, don’t assume you can get new replacements. Old parts are useful for comparison or making a pattern if you have to fabricate something. And stay organized; it takes me a couple of years to go through a car and I often forget where I put the parts. Recently, I bought a rubber windshield gasket for an old truck because I couldn’t find the other new one I previously bought... now I have two.
Excellent point
 

Cuda Hunter

Well-Known Member
Joined
Dec 28, 2008
Messages
3,011
Reaction score
1,064
Location
high mountains Colorado
If at all possible, store your parts in clear see through containers so when they are up on the shelf you can easily find the parts your after.
 

Challenger RTA

Well-Known Member
Joined
Oct 28, 2018
Messages
2,670
Reaction score
1,338
Location
PA Flood city
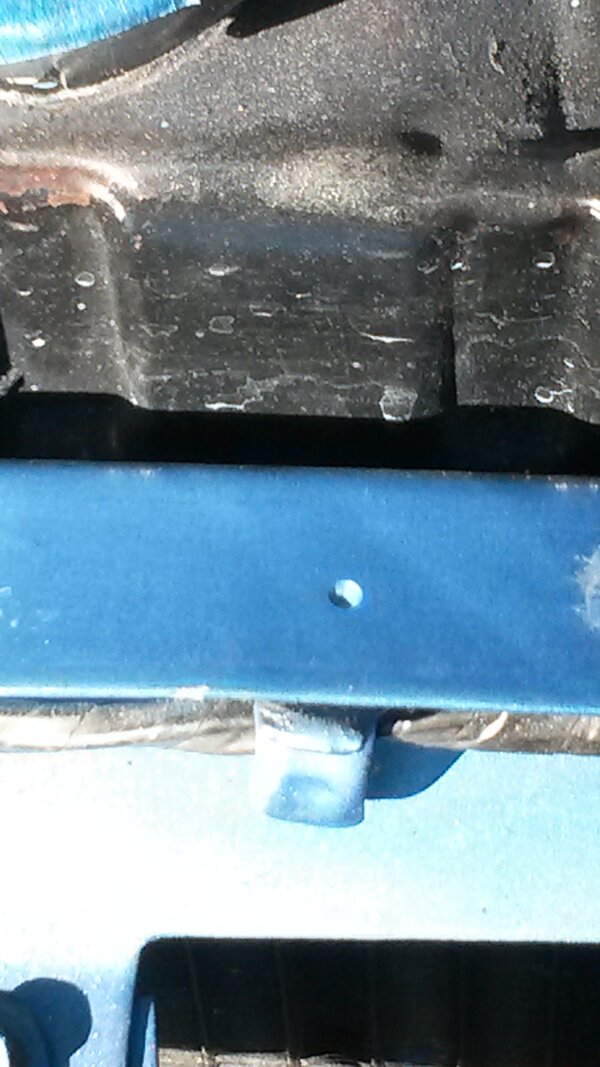
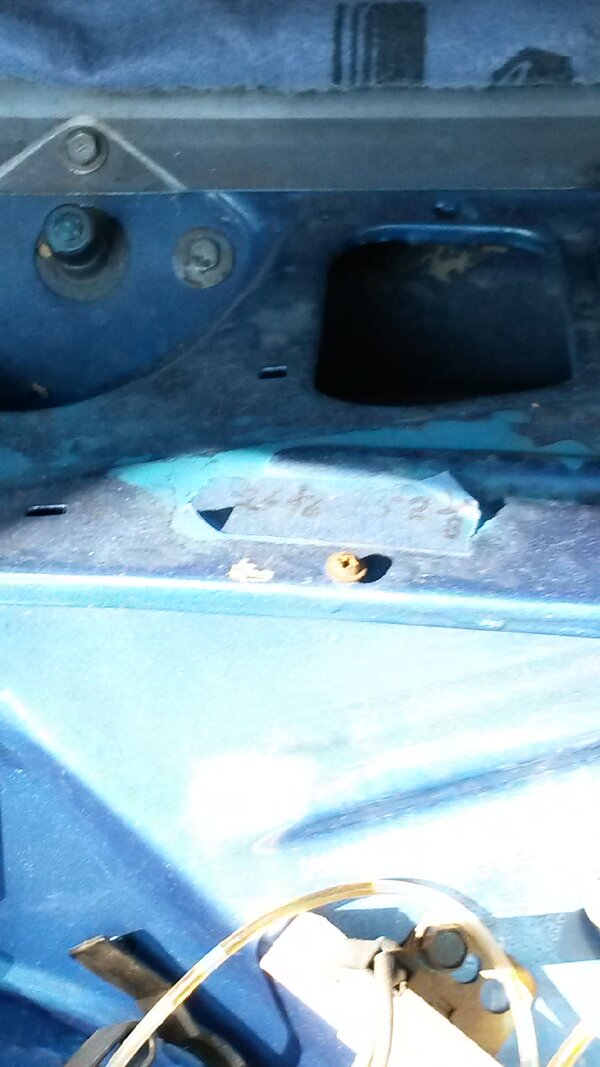
They are so right! I would like to add.TAKE MORE PICTURES! No really also pull measurements. Body panels. still intact. start with doors then fenders,adjust if need be, might be as close as it will ever get to being straight. scribe door hinges, door striker. Pull measurements 2-3 places between fender. On core support mark center with 1/8" or smaller drill bit,counter sink mark. Hood hinges probably bad if good scribe and measure gap front an rear.
 

Attachments

  • 20210629_182055.jpg
    20210629_182055.jpg
    88.6 KB · Views: 136
  • 20210629_182045.jpg
    20210629_182045.jpg
    73 KB · Views: 122

Dazmom

Member
Joined
Jan 13, 2018
Messages
7
Reaction score
3
I picked up a ton of large plastic containers from Goodwill/Salvation Army Thrift Stores, granted not all of them had lids. Also got some cheap metal shelves at Pate Swap Meet. They will help you utilize vertical space. I managed to pick up some very thick ziplock style bags on Facebook marketplace, and the permanent markers at Walmart. I spent as little as possible for storage possibilities because I want the majority of the money to go towards the car.

Attached are pictures of our car hauler (we don’t have a garage) filled with most of the parts. The hood and front rims and tires are protected in the storage end of my husband shop. The exhaust, front suspension and K member, and rear axle with springs and rims and tires attached are all located under the carport.

We managed to find a rotisserie on Facebook marketplace and it is making it easier for our Welder to replace/repair body panels and metal. Once we get the car back from paint, he is going to put it up on 4 jackstands to make it easier to slide under it to put lines, etc. back in place.

You might consider getting the subframe connectors and torque boxes from US Car Tool.

Have fun! It’s about the journey, not the destination. I can’t wait until we can fire The Lady up again and get her on down the road.

160D548F-84FE-460F-BFC2-2CD8094FD627.jpeg


EA94186D-9F33-4394-A00A-79C9D0E7DB43.jpeg


24EE1DA7-8861-4E0F-8AC0-DFEEBCAEDE73.jpeg


51FA6985-949E-487E-8F09-BC049EC09A4B.jpeg


F874556F-226D-4091-A317-D1F55ADAE58E.jpeg


910EF964-9428-4AF1-8C80-93697B990D22.jpeg


90BB55B0-CA0A-4130-94BA-2C7477FDB193.jpeg


BCE748EF-AD12-4D65-B824-E691ADCE7A1E.jpeg


49CBEB00-1FE7-4F36-81B7-9433824E69E2.jpeg


321EFD9A-704B-4E7C-979D-6CC0453957BF.jpeg
 
Last edited:
Back
Top