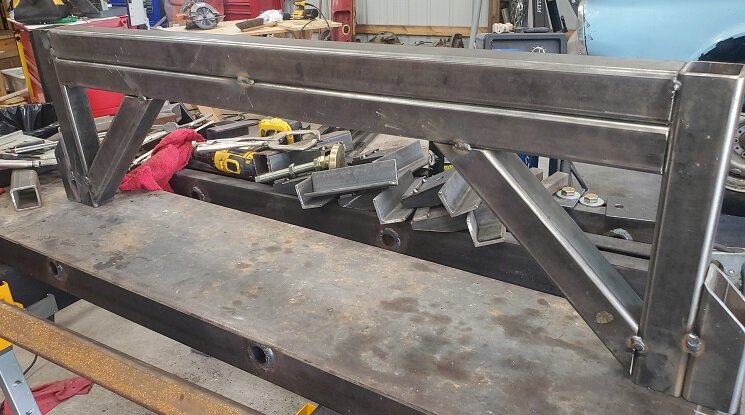
Dive in and warm up the credit cards.
I have found with the many big projects I have completed over the years, it's very often worse sitting thinking about all the work ahead of you than it is actually diving in, pacing yourself, setting small milepost goals and chewing on it until you have the finished results you wanted. Good luck to you. If you set a reasonable pace and expect to go over budget...just try to have fun and come here for help any time. We want to see your E-body dreams come true as bad as you do. These cars don't grow on trees
I have found with the many big projects I have completed over the years, it's very often worse sitting thinking about all the work ahead of you than it is actually diving in, pacing yourself, setting small milepost goals and chewing on it until you have the finished results you wanted. Good luck to you. If you set a reasonable pace and expect to go over budget...just try to have fun and come here for help any time. We want to see your E-body dreams come true as bad as you do. These cars don't grow on trees