• Welcome to For E Bodies Only !

    We are a community of Plymouth Cuda and Dodge Challenger owners. Join now! Its Free!

"Building My Dream" by 72 Chally

72chally440

Well-Known Member
Joined
Mar 7, 2013
Messages
105
Reaction score
21
Location
San Bernardino County, Ca
"Building My Dream"

Here you will follow my 1972 Challenger build. I will be transforming a solid minimal rust numbers matching 318 car that was sitting in a garage since 1982 into a tire ripping 650+ HP 440 street/strip car. It was born in what I consider to be the ugliest color Ma Mopar ever offered on these cars; GY4 "Honeydew." Interior was Gold/Tan/Black/Brown. Supposedly the car sat a the dealership lot and did not sell, so they painted it Brown. Original owner later changed it to light yellow which is it's current color. My plan for this car, since it is not a highly collectible rare beast, is to make it into a car I can enjoy and have fun with. I have always loved B5 blue as it was on the 1970 Dodge Challenger I drove as a kid. I have decided to transform this car into a B5 blue with black interior. It will likely have a blacked out T/A style hood and black stripes of some type. The 318 /904 trans have already gone into a 72 charger which I sold to make room for this project. I already have a built 440, appropriately rebuilt 727 trans with 3000 stall converter and a Sure Grip diffy ready to install. They were originally intended for the Charger, but with no offense to B body lovers, I always wanted the Challenger. When this one came along I could not resist.

Here is what she looked like when she came home after 31 years in the garage. (The wheels and tires on it had to be changed because they were flat)
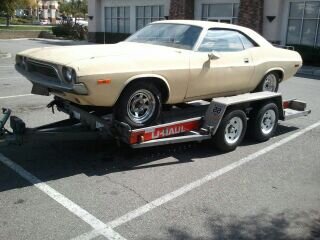
Coming Home.jpg

More to follow....

Coming Home.jpg
 
Last edited:
72chally440

Well-Known Member
Joined
Mar 7, 2013
Messages
105
Reaction score
21
Location
San Bernardino County, Ca
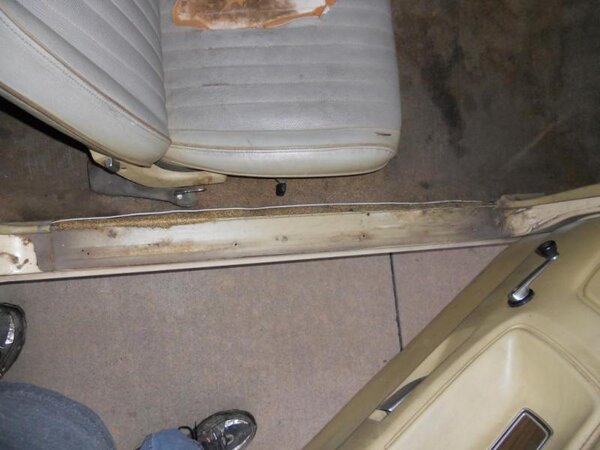
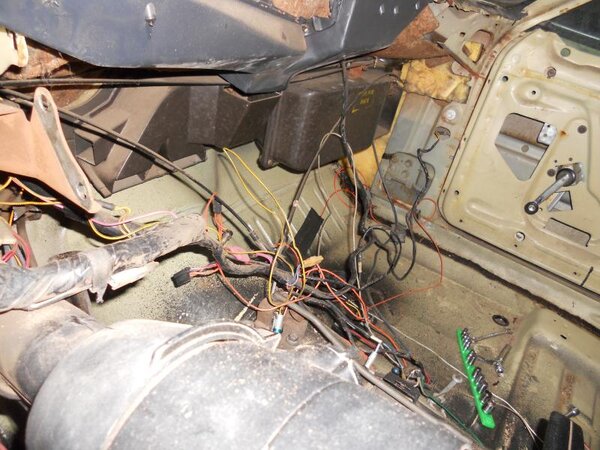
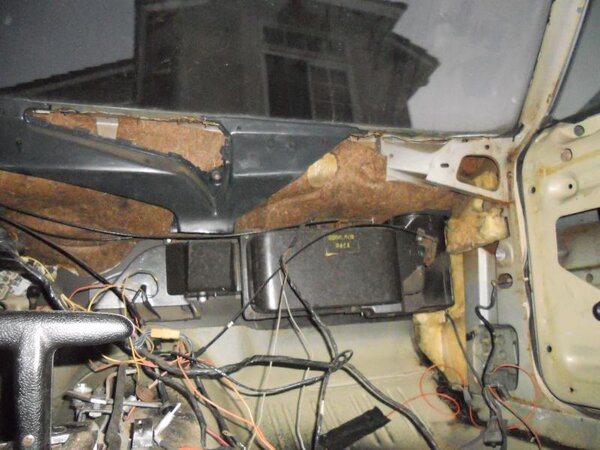
Interior and dash coming out:

DSCN0728.jpg
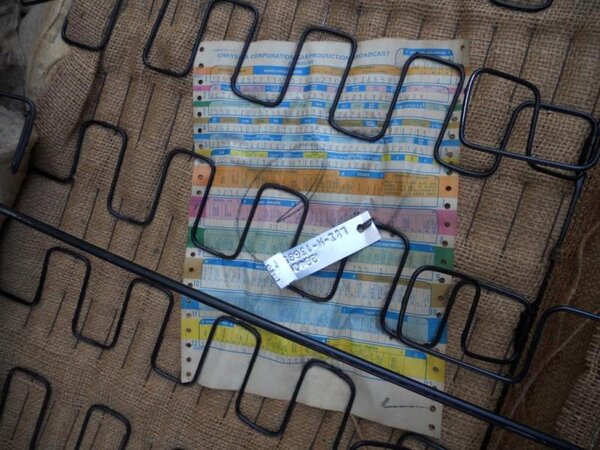
Found a build sheet in rear seat back springs. Another under the driver side rear carpet.
Rear seat.jpg
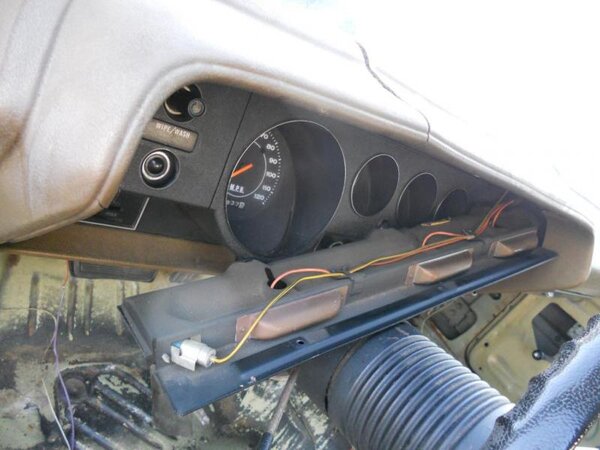
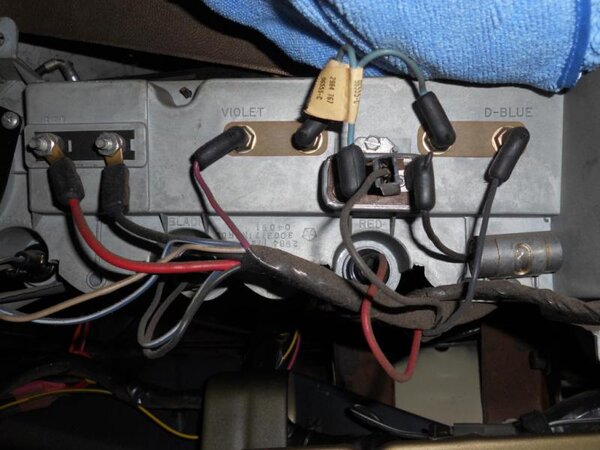
Dash illumination panel coming out. Need to know the wiring for reinstall
DAsh disassembly.jpg
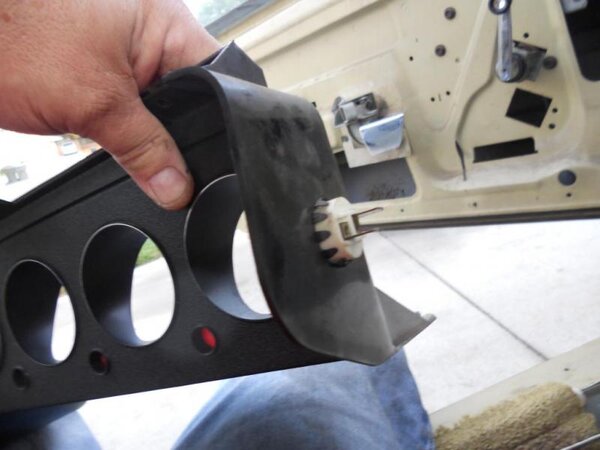
Instrument bezel coming out. See the ugly Honeydew in the background on the door.
Instrument bezel.jpg
More wiring. I was amazed at good condition after 40+years
Instrument wiring.jpg
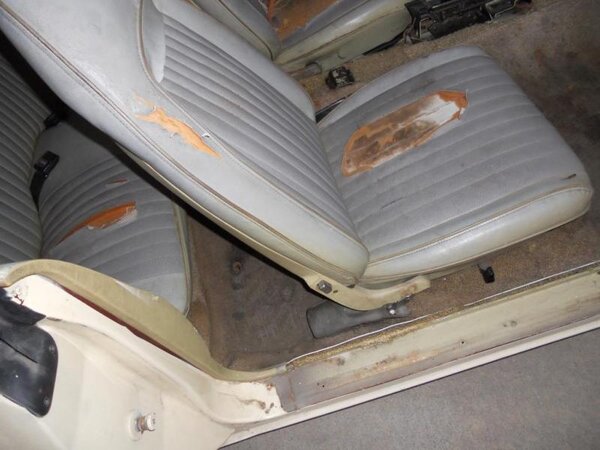
Man that Black is gonna look good.
Interior from pass side.jpg

DSCN0728.jpg


Rear seat.jpg


DAsh disassembly.jpg


Instrument bezel.jpg


Instrument wiring.jpg


Interior from pass side.jpg
 
Last edited:
moparleo

Well-Known Member
Joined
Oct 17, 2011
Messages
6,939
Reaction score
1,727
Location
So. Cal. Riverside area Moreno Valley
If you don't already have one, get a the factory service manuals. An easier way to do the dash is to unplug the harnesses at the firewall and remove the dash complete. Only a few bolts holding the complete dash assembly to the firewall.
 

tabithapalita

Member
Joined
Dec 19, 2013
Messages
9
Reaction score
0
Location
CA
If you can really mod this car, its got some serious potential. You will be happy with the results. Good luck!
 

72chally440

Well-Known Member
Joined
Mar 7, 2013
Messages
105
Reaction score
21
Location
San Bernardino County, Ca
Some updates....still getting her stripped down for body shop.
Moparleo, you were absolutely correct much easier to remove dash the other way. Ordered the Factory Service Manual disc from ebay too. It helps for us first timers stripping things down.


DSCN0784.jpgDSCN0785.jpg
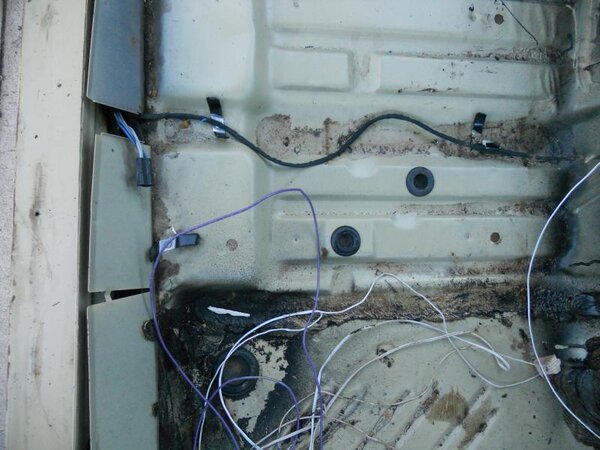
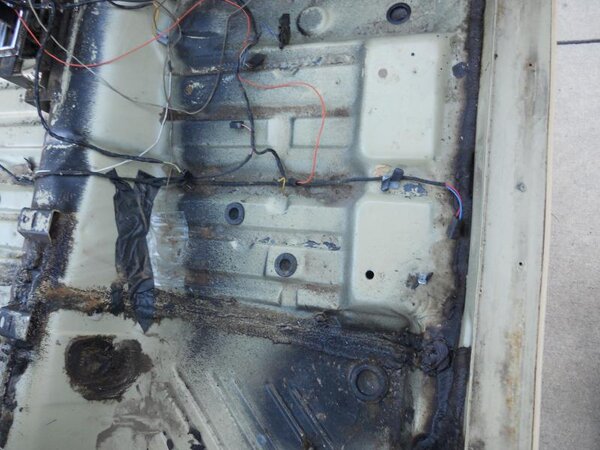
Floors are in excellent shape
DSCN0879.jpgDSCN0880.jpg
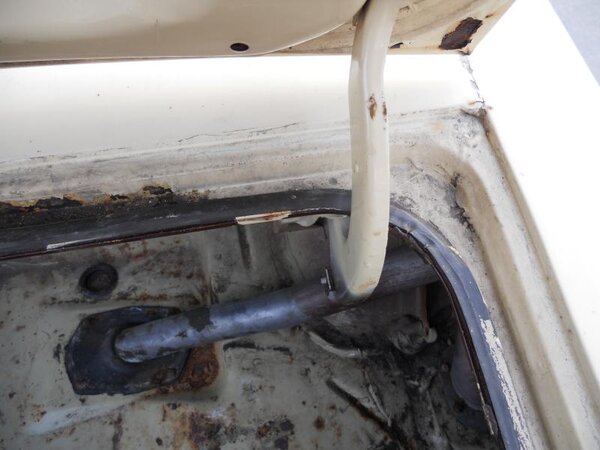
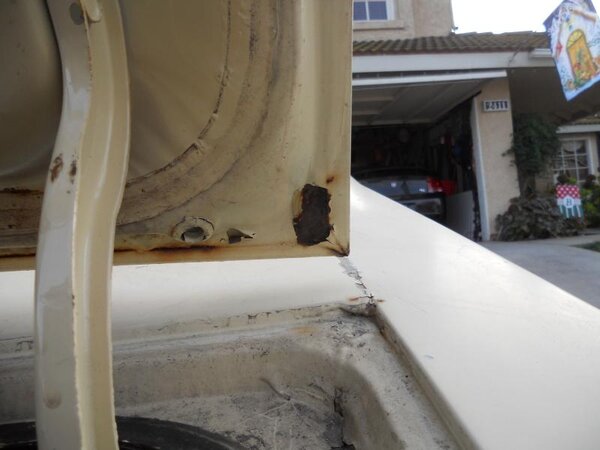
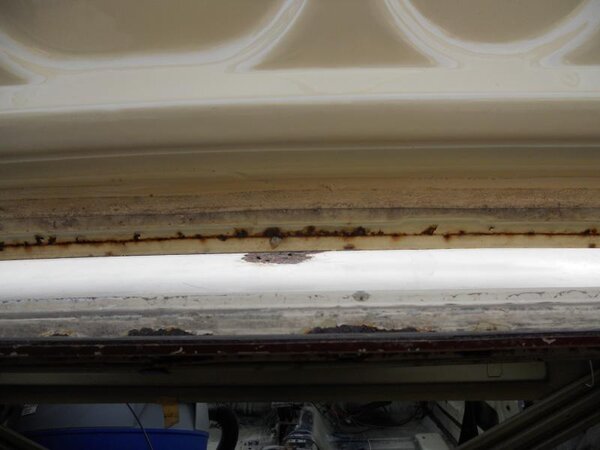
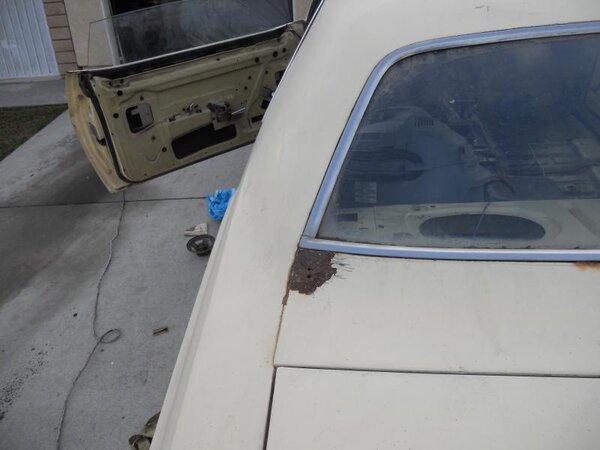
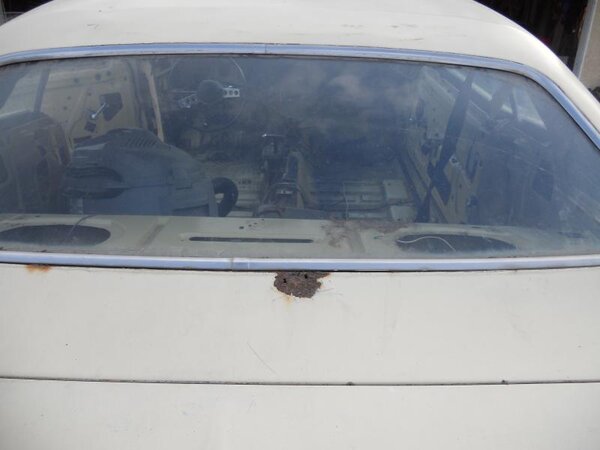
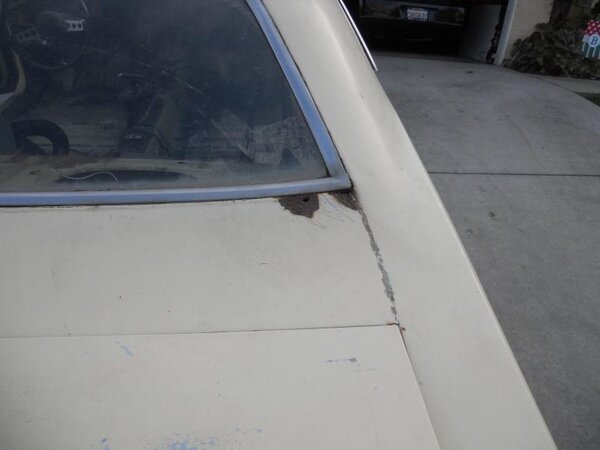
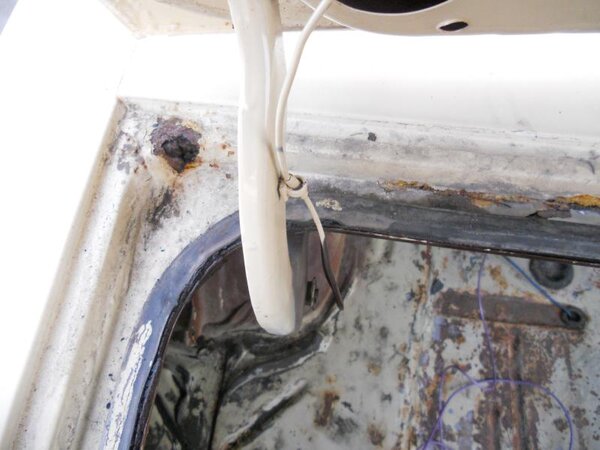
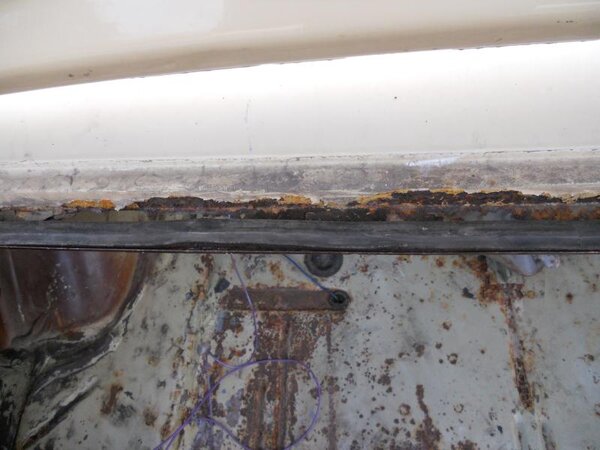
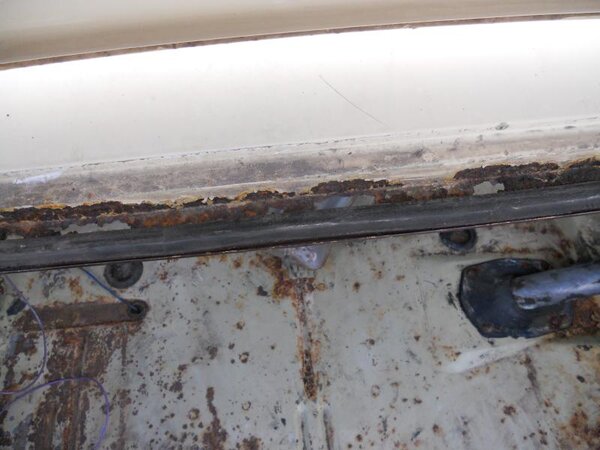
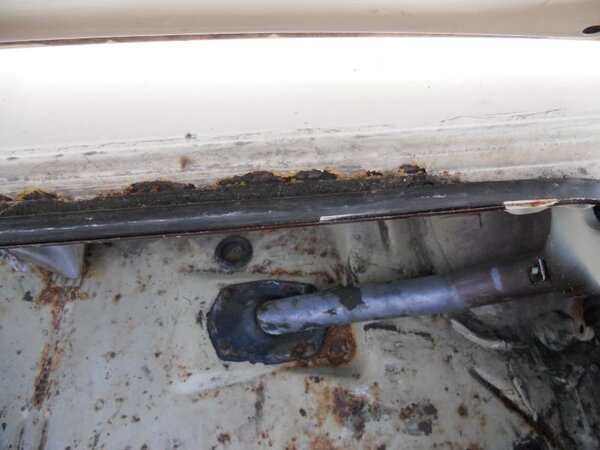
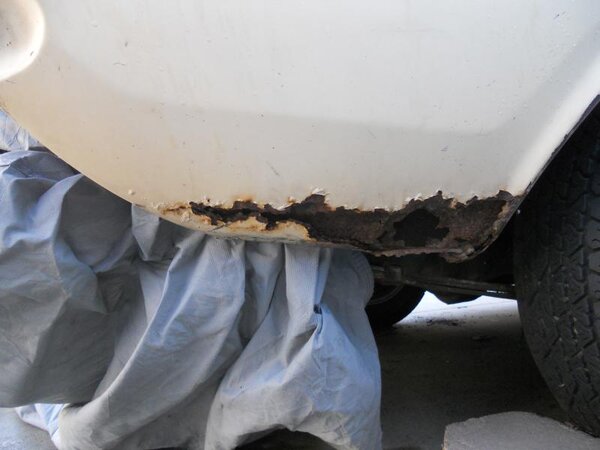
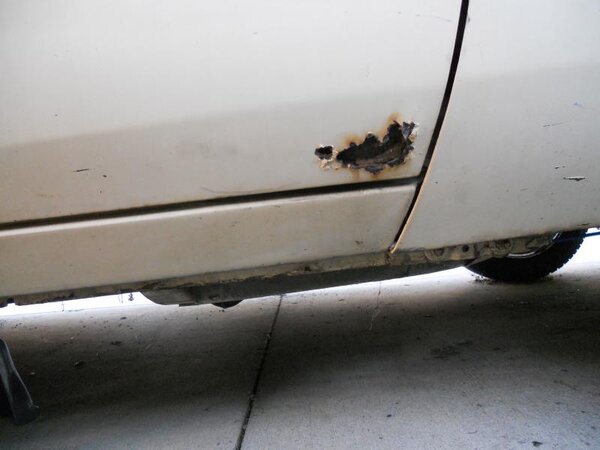
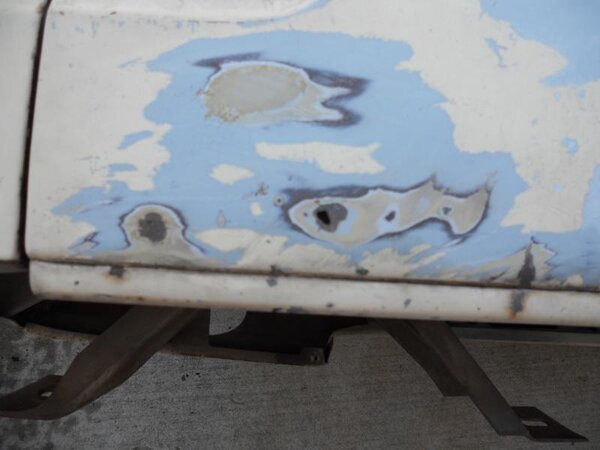
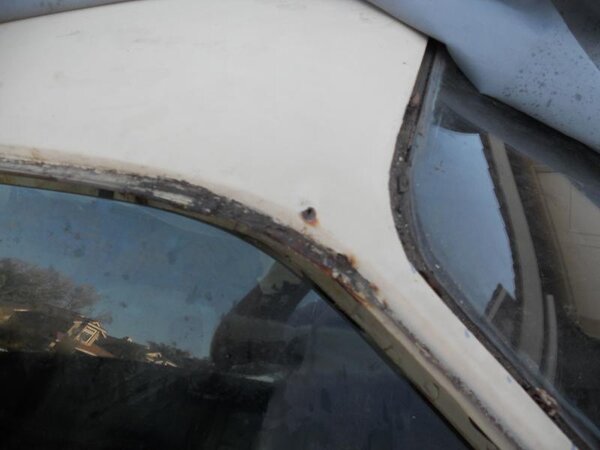
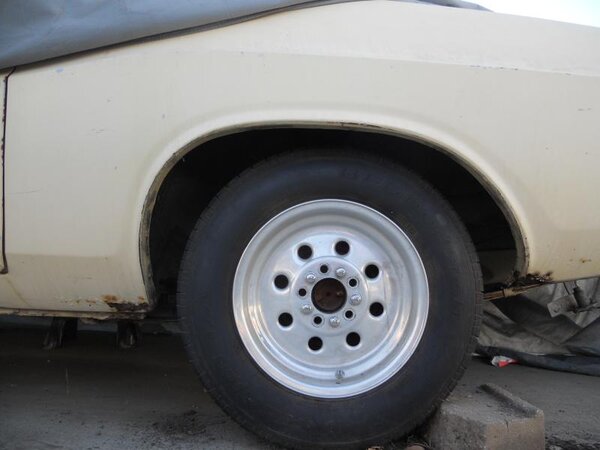
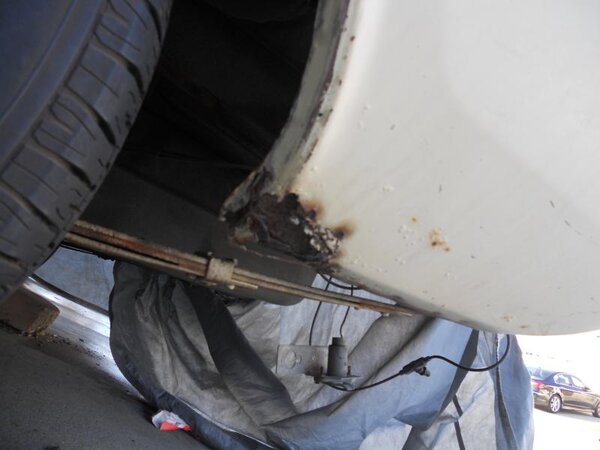
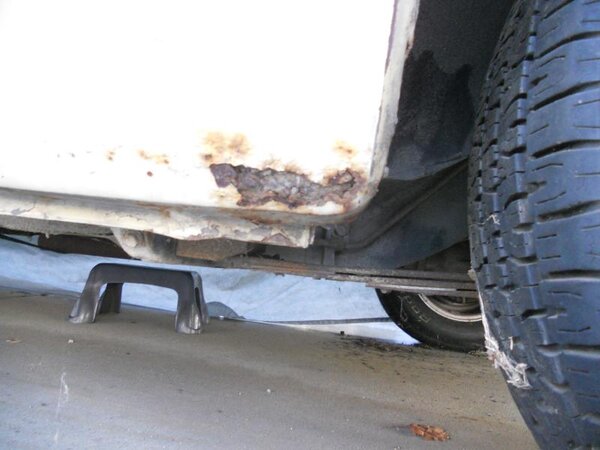
Here are the main rust issues :
DSCN0802.jpg
DSCN0803.jpg
DSCN0804.jpg
DSCN0805.jpg
DSCN0806.jpg
DSCN0807.jpg
DSCN0798.jpg
DSCN0799.jpg
DSCN0800.jpgDSCN0801.jpgDSCN0802.jpgDSCN0890.jpgDSCN0891.jpgDSCN0892.jpgDSCN0893.jpgDSCN0894.jpgDSCN0895.jpgDSCN0896.jpg
Progress is great. Seems like everything I do creates more questions. I find myself searching FEBO, especially Tored's project. It is a great source and inspiration. I hope to do the same for someone else.

DSCN0783.jpg


DSCN0784.jpg


DSCN0785.jpg


DSCN0879.jpg


DSCN0880.jpg


DSCN0802.jpg


DSCN0803.jpg


DSCN0804.jpg


DSCN0805.jpg


DSCN0806.jpg


DSCN0807.jpg


DSCN0798.jpg


DSCN0799.jpg


DSCN0800.jpg


DSCN0801.jpg


DSCN0890.jpg


DSCN0891.jpg


DSCN0892.jpg


DSCN0893.jpg


DSCN0894.jpg


DSCN0895.jpg


DSCN0896.jpg
 
Last edited:
Bill

Well-Known Member
Joined
Oct 6, 2012
Messages
593
Reaction score
55
Location
Vermont
Pictures are worth 1,000,000 words aren't they? I'm building my dream car too and I often think of how different things would be if I did not have a resource like FEBO.
Some updates....still getting her stripped down for body shop.
Moparleo, you were absolutely correct much easier to remove dash the other way. Ordered the Factory Service Manual disc from ebay too. It helps for us first timers stripping things down.


View attachment 14572View attachment 14573
Floors are in excellent shape
View attachment 14574View attachment 14575
Here are the main rust issues :
View attachment 14576
View attachment 14577
View attachment 14578
View attachment 14579
View attachment 14580
View attachment 14581
View attachment 14582
View attachment 14583
View attachment 14584View attachment 14585View attachment 14576View attachment 14586View attachment 14587View attachment 14588View attachment 14589View attachment 14590View attachment 14591View attachment 14592
Progress is great. Seems like everything I do creates more questions. I find myself searching FEBO, especially Tored's project. It is a great source and inspiration. I hope to do the same for someone else.
 

72chally440

Well-Known Member
Joined
Mar 7, 2013
Messages
105
Reaction score
21
Location
San Bernardino County, Ca
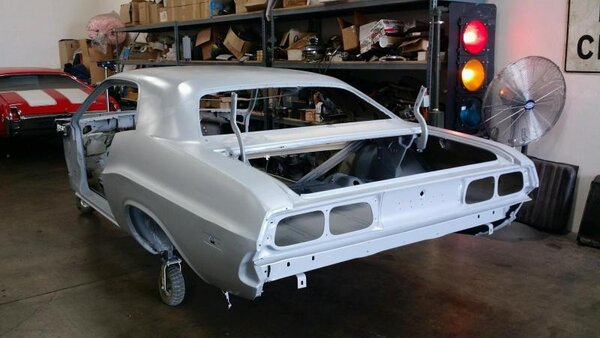
In primer.jpg
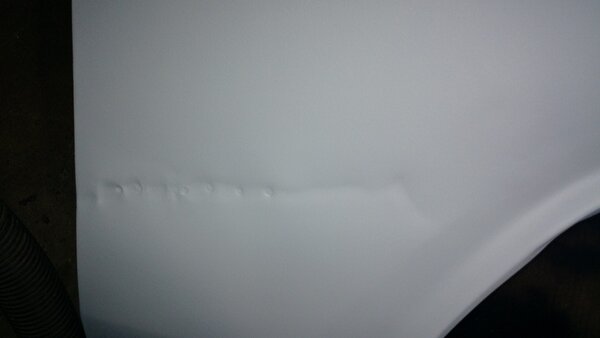
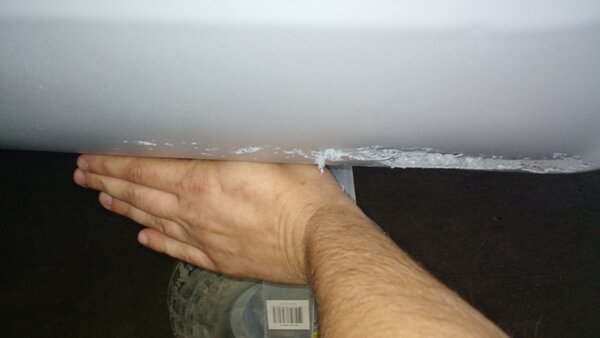
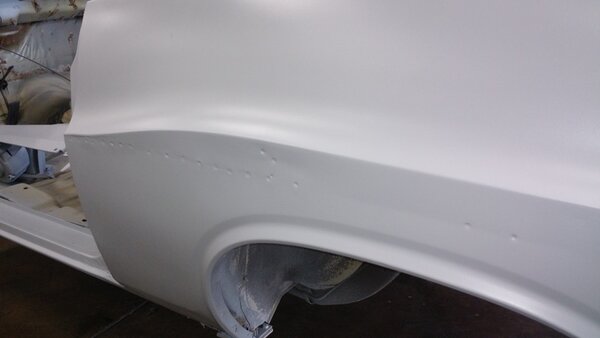
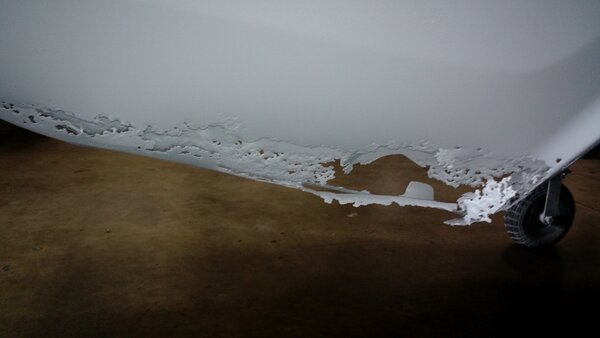
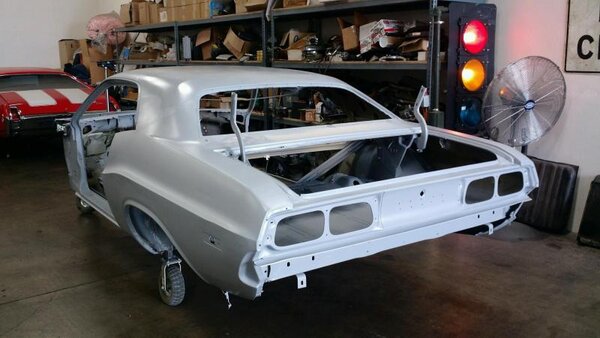
Finally got back to working on my project. Here she is in primer after Media Blasting. Being a California car it was in really good shape other than the usual lower quarter panel, deck filler panel & various other small rust areas. We did find one prior dent repair on driver side quarter just behind door that we could not see before stripping it. Gonna remove the old filler, weld the dent puller holes, and save the quarter panel. More pics coming soon as this project will start to move along now.

In primer.jpg
 

72chally440

Well-Known Member
Joined
Mar 7, 2013
Messages
105
Reaction score
21
Location
San Bernardino County, Ca
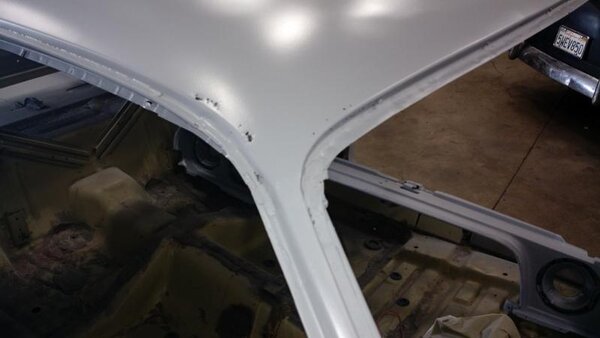
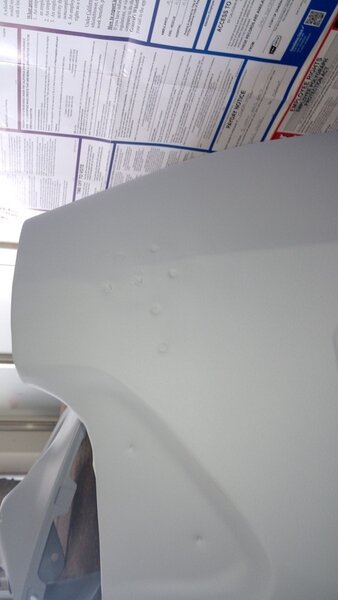
Thanks. Here are a few more pics. Any suggestions on best way to deal with the pin holes in roof? Anyone had success welding them? Anyone with success cut and paste with section from Donor car? I'm novice at this and want to direct my body guy in the best direction. Thanks
DS Fr lower qtr.jpgDS frt fender old repair.jpgDS qtr old repair.jpgIn primer.jpgPass Fr lower qtr.jpgPass qtr old repair 2.jpgPass rear qtr.jpgRoof pinholes.jpg

DS Fr lower qtr.jpg


DS frt fender old repair.jpg


DS qtr old repair.jpg


In primer.jpg


Pass Fr lower qtr.jpg


Pass qtr old repair 2.jpg


Pass rear qtr.jpg


Roof pinholes.jpg
 
Last edited:
72chally440

Well-Known Member
Joined
Mar 7, 2013
Messages
105
Reaction score
21
Location
San Bernardino County, Ca
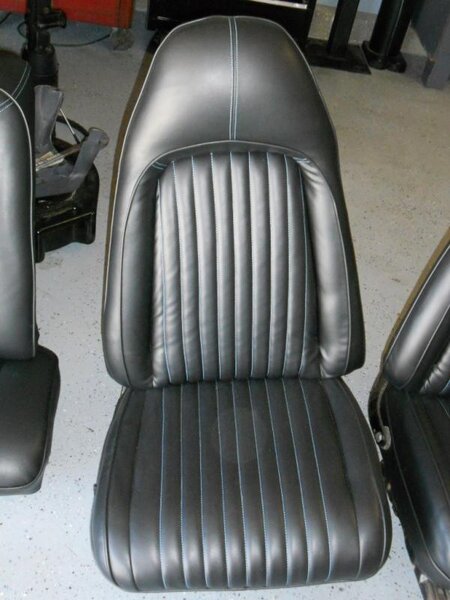
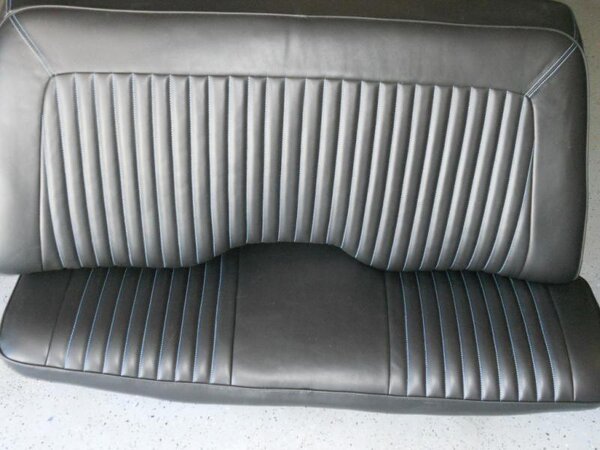
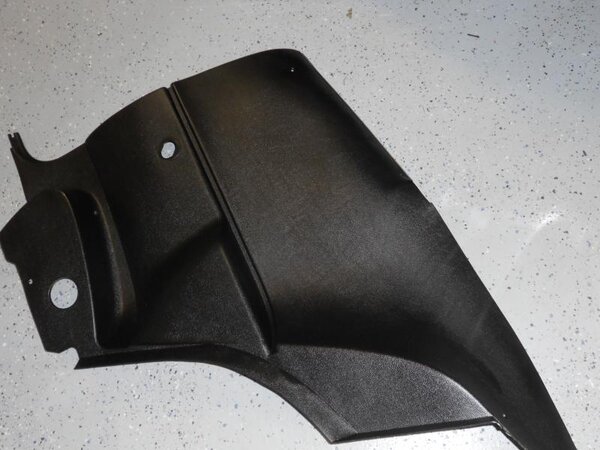
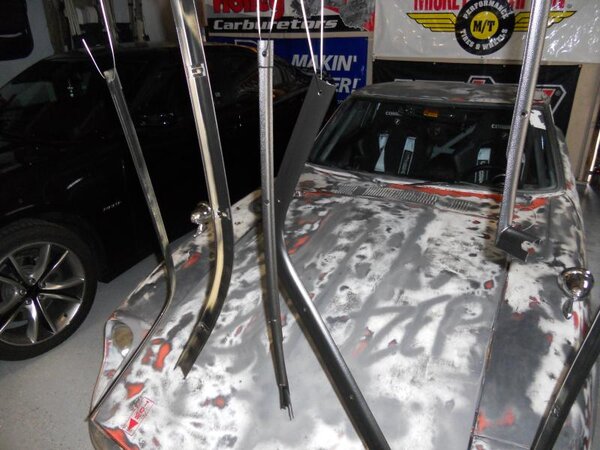
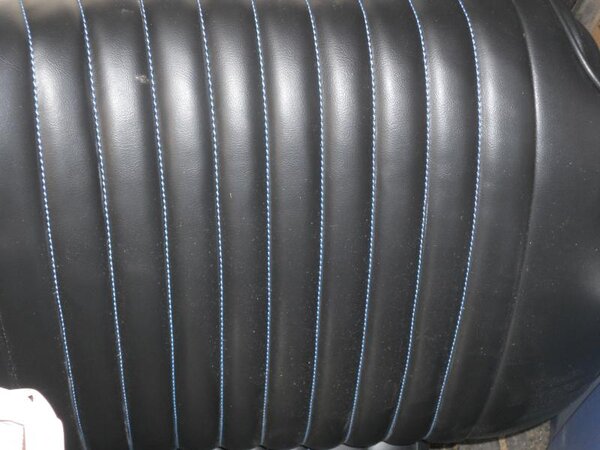
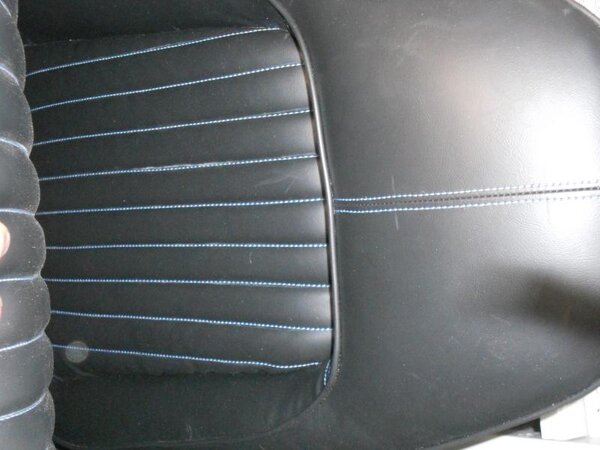
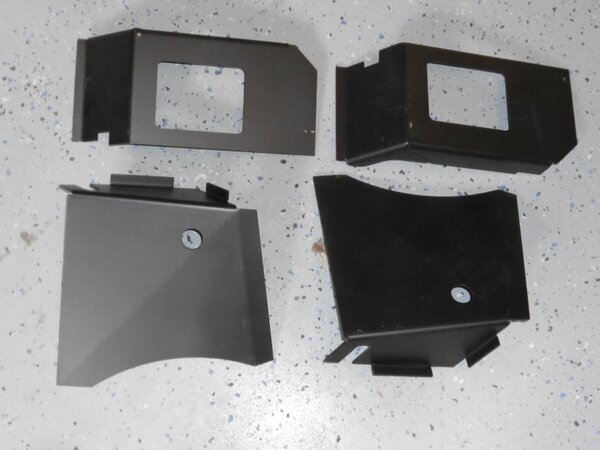
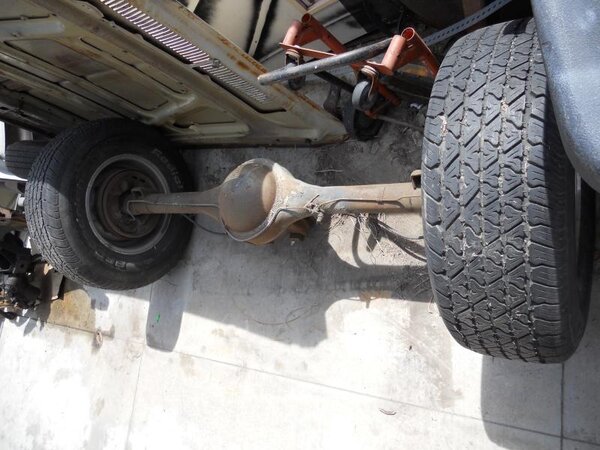
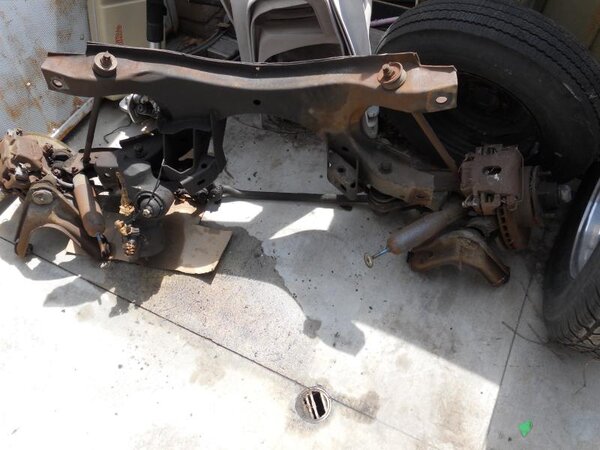
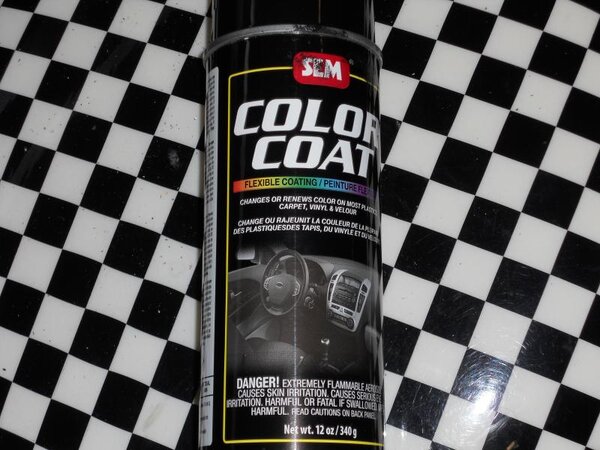
More Progress. Got seats back from upholstery. I love the blue thread to match the blue paint that will be on the car. Trying to stay close to original style, but with my own flair. Started converting tan interior to black. Had to buy a few interior plastics (original and metro pieces), but overall the originals stayed pretty good. Got to say the SEM paint is the best aerosol spray paint I have ever worked with. It is an amazing product. Found some Torque boxes on ebay. I figure I better have them with the monster motor. Look good, hope they fit well when I get the car back from metal work. Probably gonna do frame connectors. Like to hear opinions of bolt on vs the Weld on. Found some pieces to repair roof and quarter panels off of a donor car. I thought I took pics, but can't find them. Have all the Moog parts to rebuild front end (Will post pics when that part of the project begins.) Have the PST 1.03 Torsion Bars. Gonna order ESPO 1" Rear Leaf Springs Next week. That's all for now. Having a DUCKS Hockey Party to get ready for. GO DUCKS!

DSCN1351.jpgDSCN1352.jpgDSCN1353.jpgDSCN1354.jpgDSCN1355.jpgDSCN1356.jpgDSCN1357.jpgDSCN1358.jpgDSCN1359.jpgDSCN1360.jpg

DSCN1351.jpg


DSCN1352.jpg


DSCN1353.jpg


DSCN1354.jpg


DSCN1355.jpg


DSCN1356.jpg


DSCN1357.jpg


DSCN1358.jpg


DSCN1359.jpg


DSCN1360.jpg


DSCN1361.jpg
 
Last edited:
74chlngrTT5.9

Well-Known Member
Joined
Feb 27, 2013
Messages
278
Reaction score
23
Location
SoCal
X2 on the stitching color touch.
There is so many subtle touches that can be done while still being true to the cars heritage.

Hope to see car out in person some time from a fellow Socal member.

Mike.
 

72chally440

Well-Known Member
Joined
Mar 7, 2013
Messages
105
Reaction score
21
Location
San Bernardino County, Ca
I'm trying. Never thought this could take so long. It feels good to see it gaining by large strides lately. Hopefully, she'll be on the road in the fall.
 

72chally440

Well-Known Member
Joined
Mar 7, 2013
Messages
105
Reaction score
21
Location
San Bernardino County, Ca
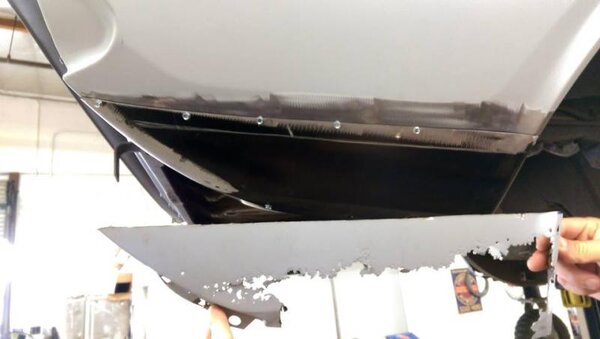
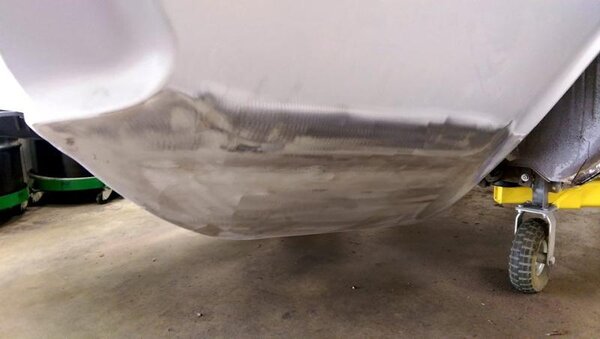
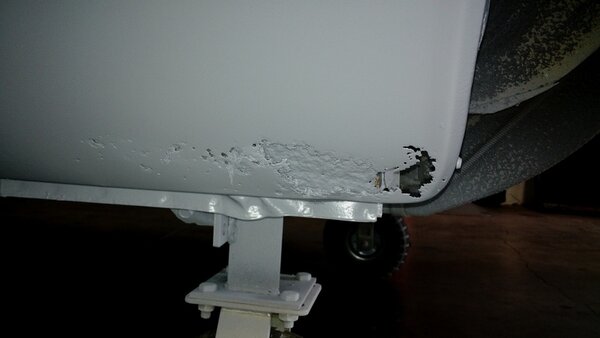
Here are a few pics of recently completed repairs. Took a little work to line up the AMD Deck Panel, but it's looking good.


New roof repair.jpgRear Deck panel 2.jpgNew rear deck panel.jpg

Rear Deck panel 2.jpg


New rear deck panel.jpg


New roof repair.jpg
 
Last edited:
72chally440

Well-Known Member
Joined
Mar 7, 2013
Messages
105
Reaction score
21
Location
San Bernardino County, Ca
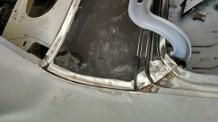
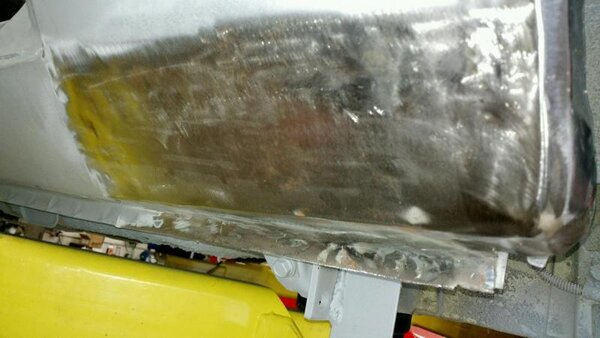
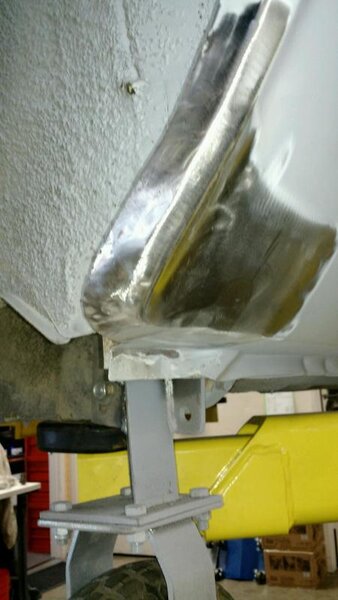
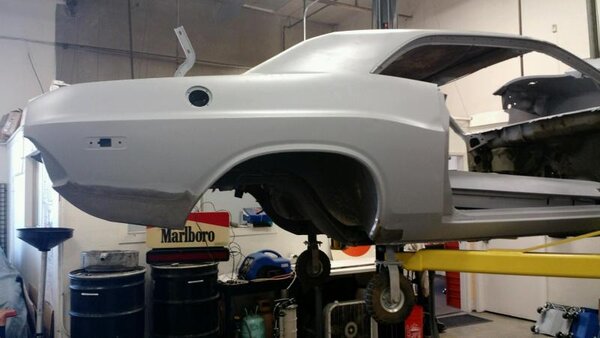
A few more pics. The rusted panels have all been repaired now. Off to get primer on those areas, then we start the tedious job of getting everything straight. It is getting close, I can almost see that blue paint on there.
Frt Driver qtr repair.jpgFrt Pass qtr repair 2.jpgPass Qtr rust repair.jpg

Frt Driver qtr repair.jpg


Frt Pass qtr repair 2.jpg


Pass Qtr rust repair.jpg
 
Back
Top